Credit: Adam Davidson / How-To Geek
I’m a terrible hoarder—my garage is full of empty tech boxes that I can’t bring myself to throw away just in case I ever need them for some unfathomable reason. Sometimes it pays off; I’ve turned an old Fire tablet that was lying around into a dedicated desktop dashboard, and it works surprisingly well.
Turning an old Fire tablet into a Home Assistant dashboard
The tablet was rotting in a drawer
 Credit: Adam Davidson / How-To Geek
I found the old tablet in one of my many drawers of junk. It’s a ninth-generation Amazon Fire 7 from 2019 and is relatively underpowered, with a quad-core 1.3 GHz processor and only 1 GB of RAM. Using the tablet even for general purposes is often painfully slow and frustrating.
What it can do well is display information. I wondered if I could repurpose the tablet as a small minimalist Home Assistant dashboard that I could keep on my desk. That way I’d be able to see key information and control a handful of devices with just a few taps.
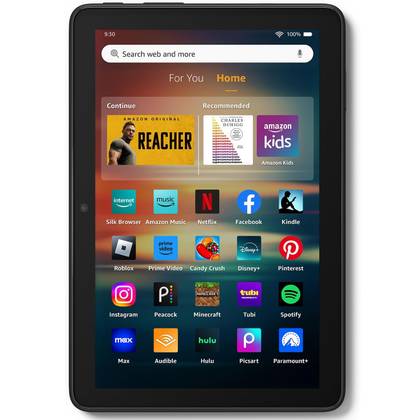
Amazon Fire HD 8 (2024)

Brand
Amazon
CPU
Hexa-core 2.0 GHz
With an updated processor, more system RAM, and much more storage, the Amazon Fire HD 8 (2024) is a great update and a great choice for anyone looking for an affordable tablet. This update feels significantly faster in all tasks while retaining its same small form factor.
Operating System
Fire OS
Battery
Up to 13 hours
Ports
USB-C
Camera (Rear, Front)
Front
Display type
8” high-definition (HD) touchscreen
Price
$99-$129
Size
Eight-Inch Display
Connectivity
Wifi, Bluetooth
Measurements
7.94” x 5.40” x 0.37” (201.90 mm x 137.34 mm x 9.60 mm)
Headphone jack
Yes
Colors
Black, Emerald, Hibiscus
Expandable Storage
MicroSD
Weight
11.88 ounces (337 grams)
Front Camera
2MP with 720p HD video recording
Rear Camera
5MP with 1080p HD video recording
Charging speed
5 hours
Resolution
1280 x 800 (189 ppi)
Configurations
3GB System RAM/32GB Storage
4GB System RAM/64GB Storage
I used a stripped-down version of the Home Assistant app
No location tracking and limited notifications
 Credit: Bertel King / How-To Geek
 The Home Assistant Companion app is available on the Google Play Store, but that’s not the option I decided to use. Instead, I used the F-Droid build. I could have chosen a different option, such as WallPanel, but this app hasn’t been in active development for some time.
F-Droid is a community-run app catalog for Android devices that only distributes free and open-source software. The USP is that F-Droid generally builds apps from public source code rather than simply redistributing the pre-built binaries provided by developers.
The upside in this case is that the F-Droid build strips out some of the features that rely on Google Play Services, which suited the stripped-back dashboard I wanted to build on the sluggish Fire 7 tablet. While location tracking won’t work using this build and notifications are more limited than with the full Google Play version, I didn’t need either feature for my dashboard.
I downloaded the APK, enabled Apps from Unknown Sources in the settings, installed the app, and logged in with my Home Assistant credentials. Once I was signed in, I could navigate through the Home Assistant app just like on any other device or browser. It was horribly slow and fiddly to use, but I wasn’t intending to navigate through menus on the tiny tablet.
Setting up Kiosk Mode
The sidebar wasn’t needed
-
 Credit: Adam Davidson / How-To Geek
 -
 Credit: Adam Davidson / How-To Geek
 -
 Credit: Adam Davidson / How-To Geek
 -
 Credit: Adam Davidson / How-To Geek
 -
 Credit: Adam Davidson / How-To Geek
-
 Credit: Adam Davidson / How-To Geek
 -
 Credit: Adam Davidson / How-To Geek
 -
 Credit: Adam Davidson / How-To Geek
 -
 Credit: Adam Davidson / How-To Geek
 -
 Credit: Adam Davidson / How-To Geek
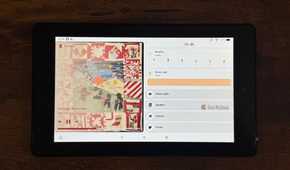
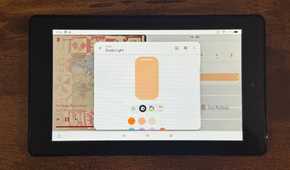
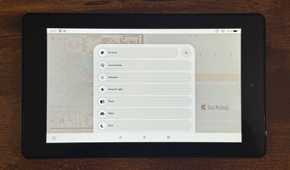
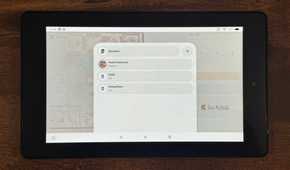
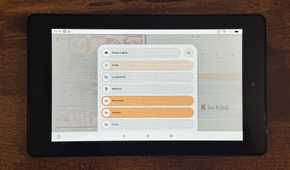
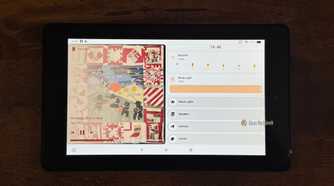
I set up a new dashboard in Home Assistant on my desktop as trying to do it on the tablet was just too frustrating. I designed it to fit nicely onto the screen of a tablet in landscape mode. There’s an option in the Companion app settings that lets you lock the app into landscape mode, which felt like a better orientation for my needs.
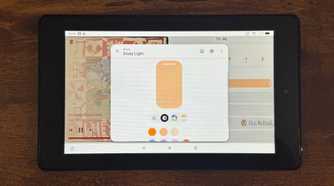
I’ve never been a fan of dashboards that are loaded with information and controls. I only added a handful of things, including a now-playing card for Music Assistant, a weather card, a control for the light in my home office as well as some expandable bubble cards to access other things such as my security camera feeds and media players.
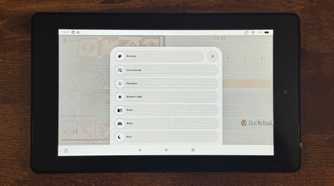
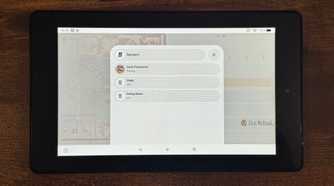
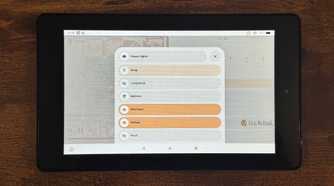
The next problem was that the sidebar and other UI elements were eating up some of the screen real estate. Since I wasn’t planning to navigate away from this specific dashboard, I didn’t need any of those features visible.
I already had the Kiosk Mode custom component installed in Home Assistant. You can add Kiosk Mode via HACS; it allows you to hide the header and sidebar on Lovelace dashboards. Since this was already installed, all I needed to do was enable Kiosk Mode for the dashboard I was using on the tablet, and the unwanted UI elements disappeared.
Solving the always-on charging problem
A smart plug that knows when to stop
 Credit: Hannah Stryker / How-To Geek
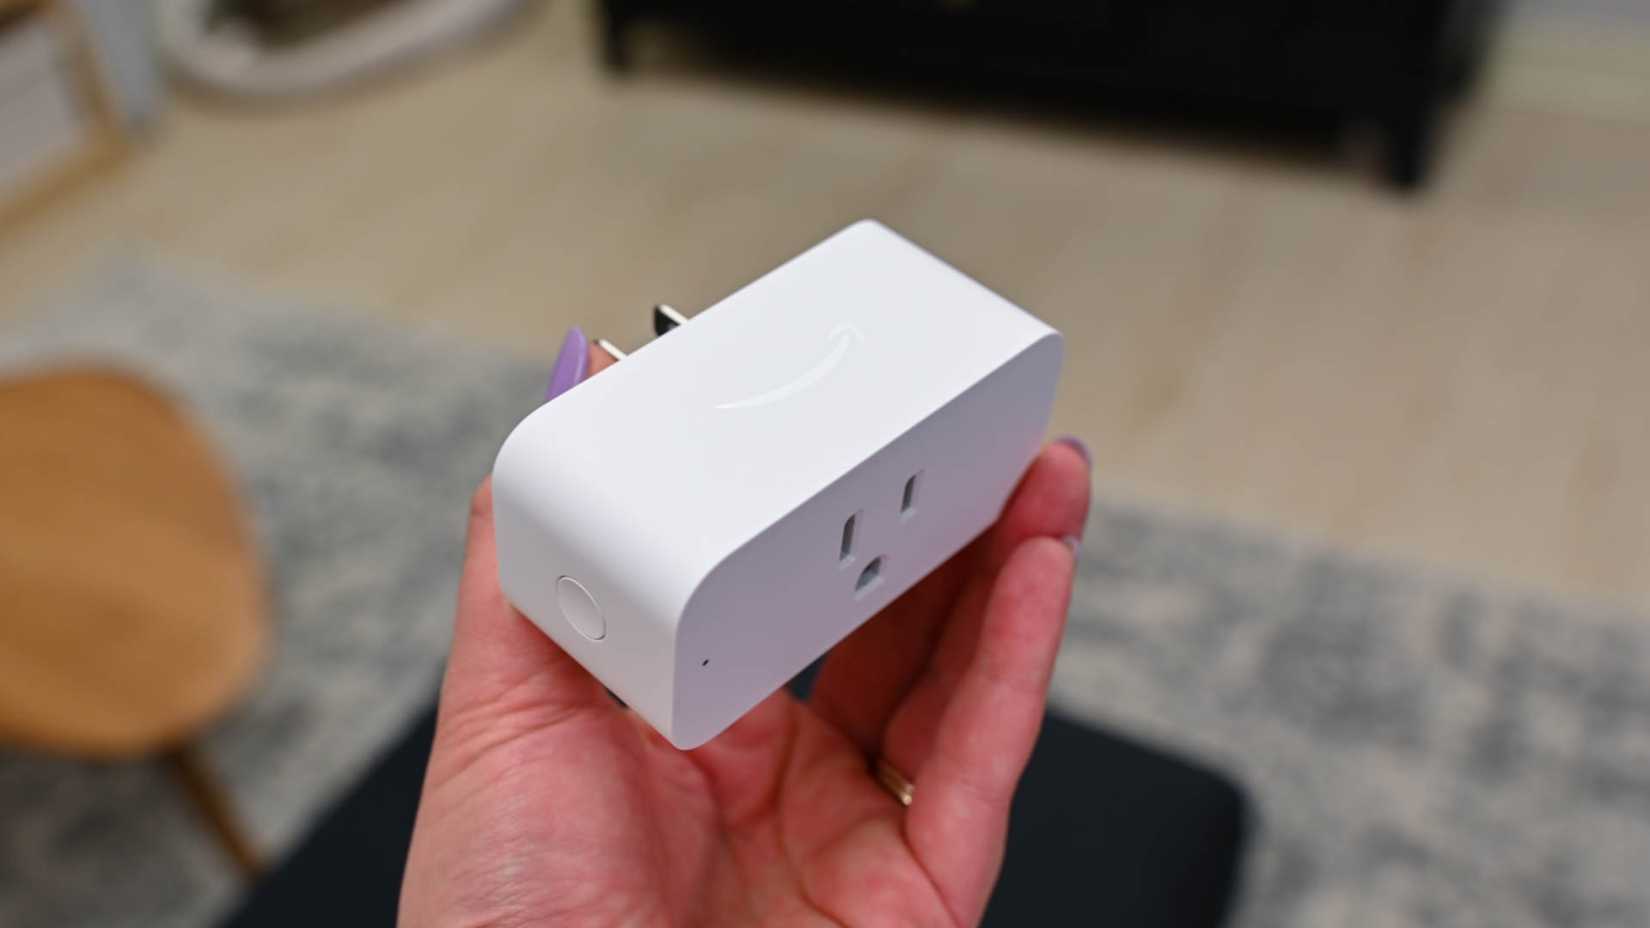
The final piece of the puzzle was powering the tablet. I didn’t want to leave it connected to power and charging the entire time, because this isn’t great for rechargeable batteries. Thankfully, the Home Assistant Companion app exposed the exact battery sensor that I needed.
The app exposes multiple sensors from the Fire 7, including the current battery level. I connected the power cable for the tablet to a smart plug and built an automation. When the battery level reaches 80%, the smart plug turns off and the tablet stops charging. When the battery level drops below 20%, the smart plug turns back on, and the whole process repeats.
I power the tablet off at the end of the working day as I don’t need it running overnight. Coupled with the smart plug automation, this should stop the tablet’s battery from turning into a spicy pillow.
Even old tablets can do a job
The Fire 7 tablet I’m using is old and underpowered, but it doesn’t need huge amounts of RAM or a super-fast processor to act as a usable dashboard. The small display wouldn’t be any use for a wall-mounted dashboard, but it’s perfect for a dashboard that’s sitting right in front of me on my desk. It feels good to be able to put old tech to good use that would otherwise just be gathering dust in my drawer.