Learning to code can feel intimidating when you are starting from scratch, especially if you have never worked with electronics. You might have written a few scripts or followed programming tutorials, but making software interact with physical hardware introduces an entirely different set of challenges.
I think the ESP32 is one of the most interesting ways to get into programming because you can see the results of your work outside a computer screen, but when you start exploring microcontrollers, the hardest part is figuring out where to begin. Vibe coding tools add another layer of confusion because they can generate working code before you understand what any of it does.
The good news is that you can start your coding journey with an ESP32 without relying on vibe coding. By learning a few programming fundamentals, experimenting with basic electronic components, and building small projects, you can develop the skills to write and understand your own code. Here’s how I would approach it:
What you need to get started
Choosing an affordable ESP32 development board
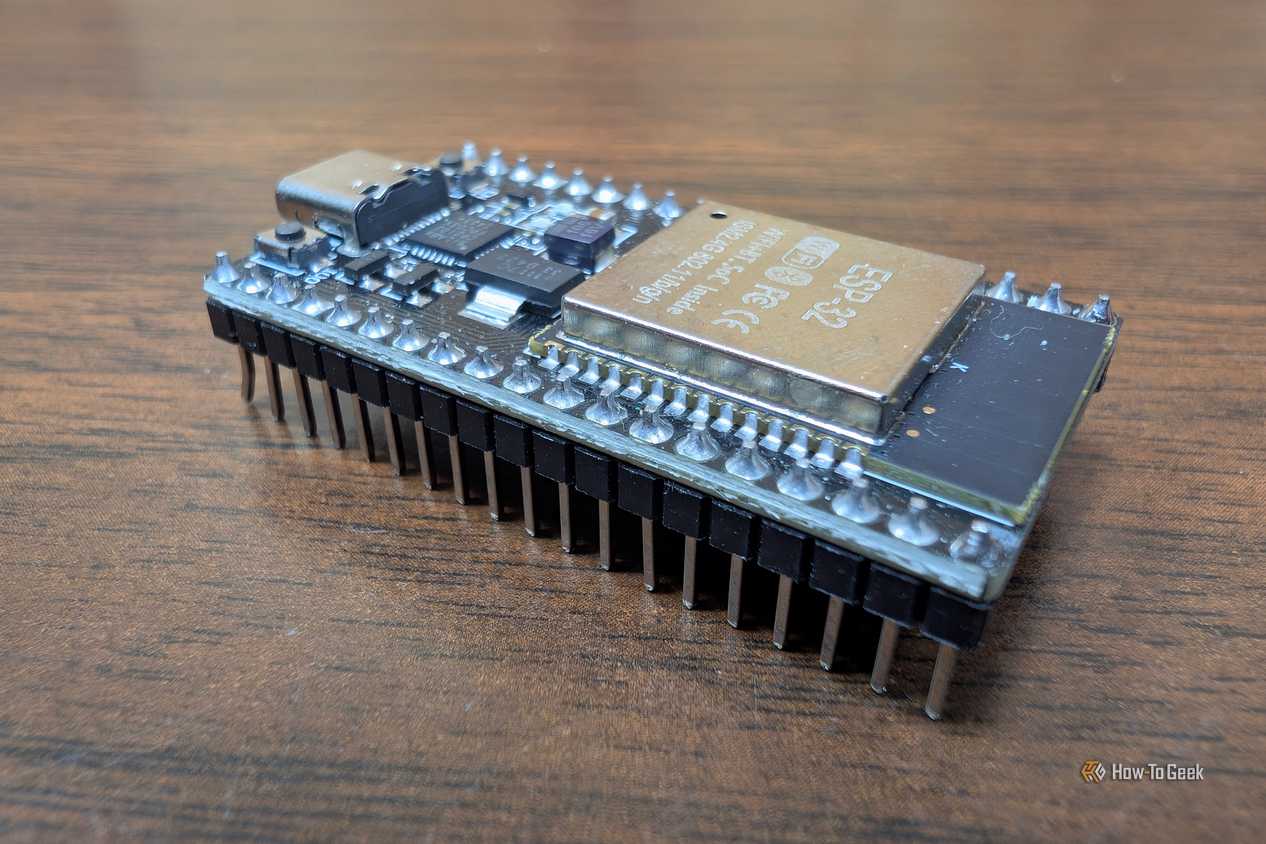
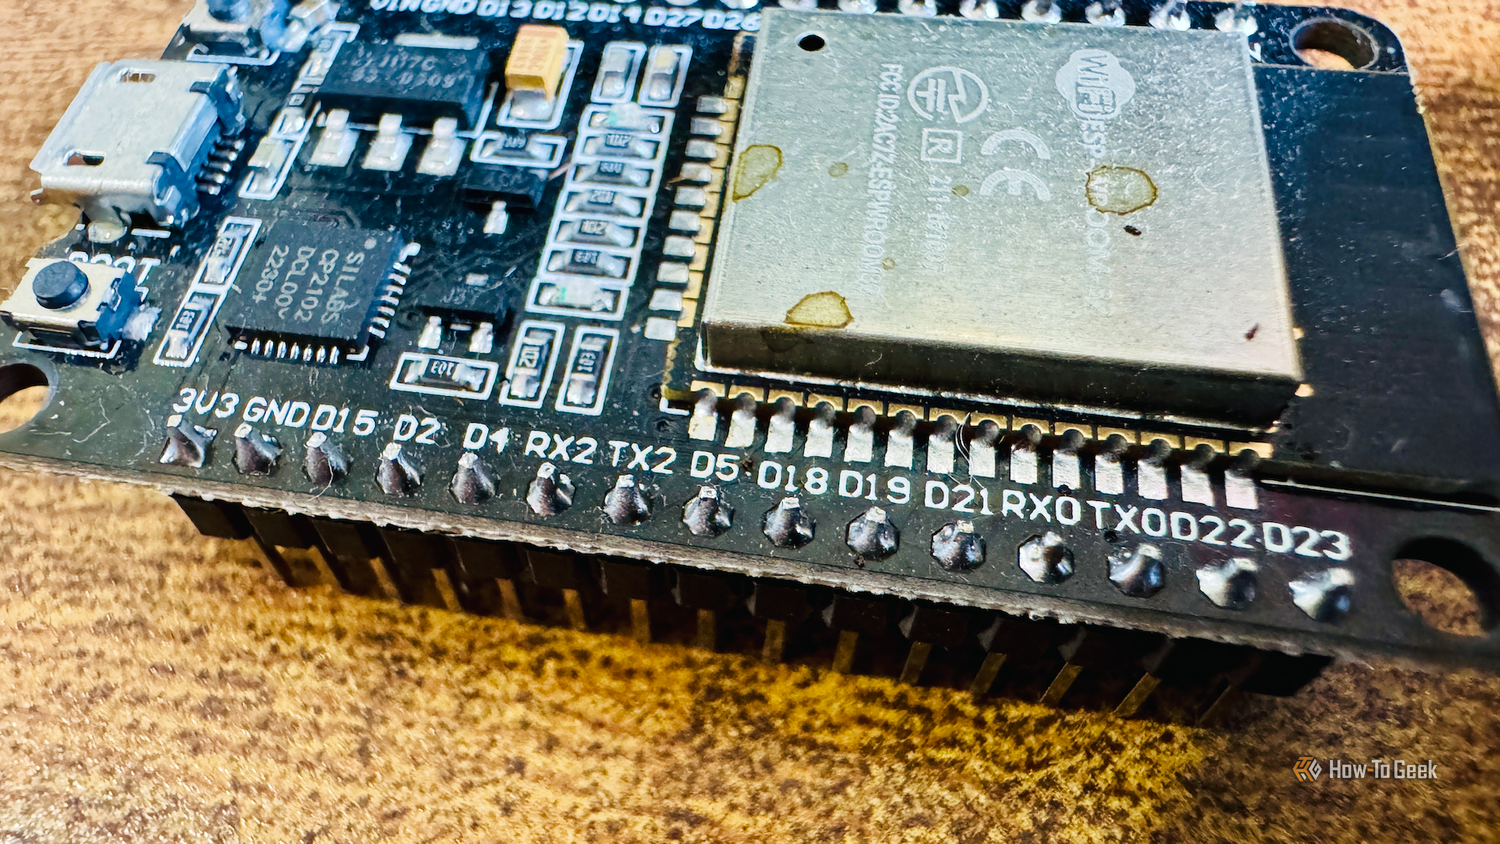
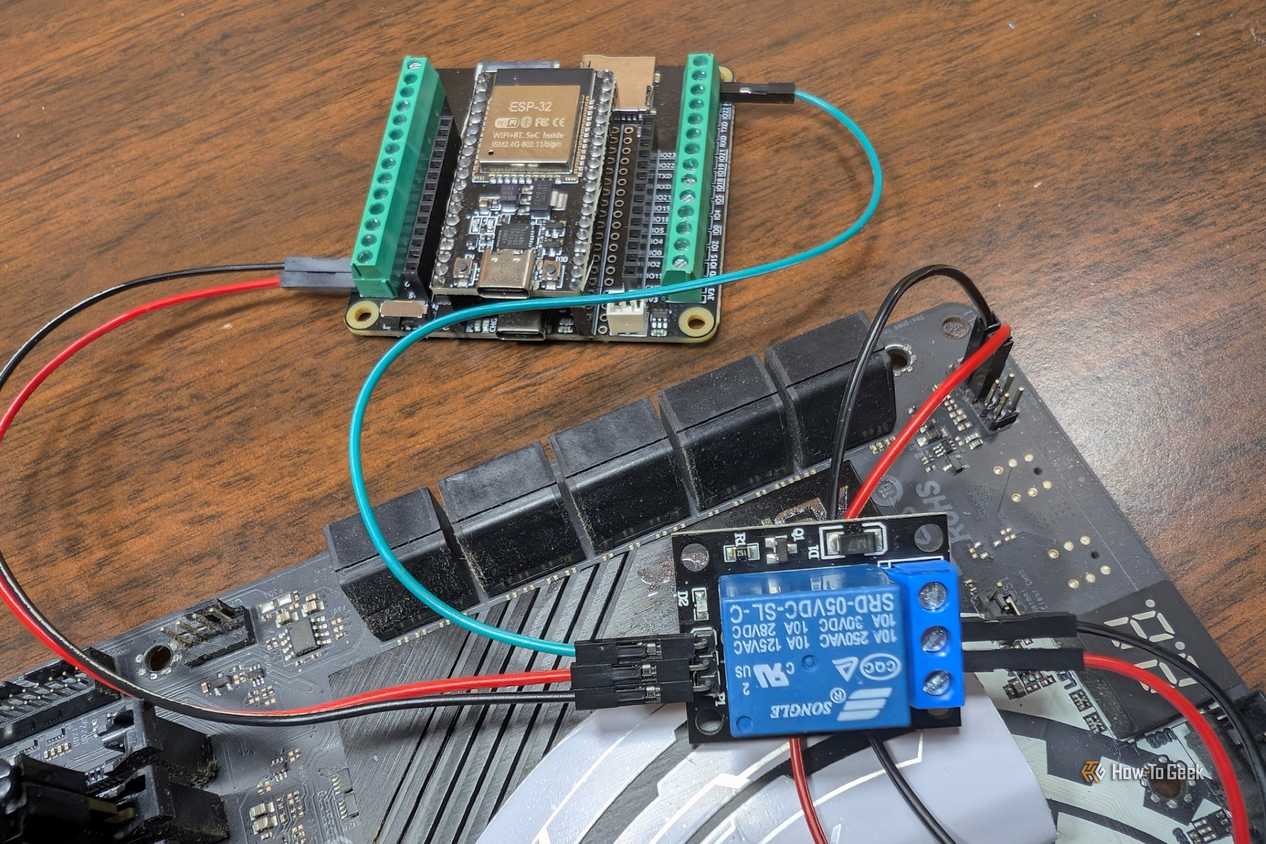
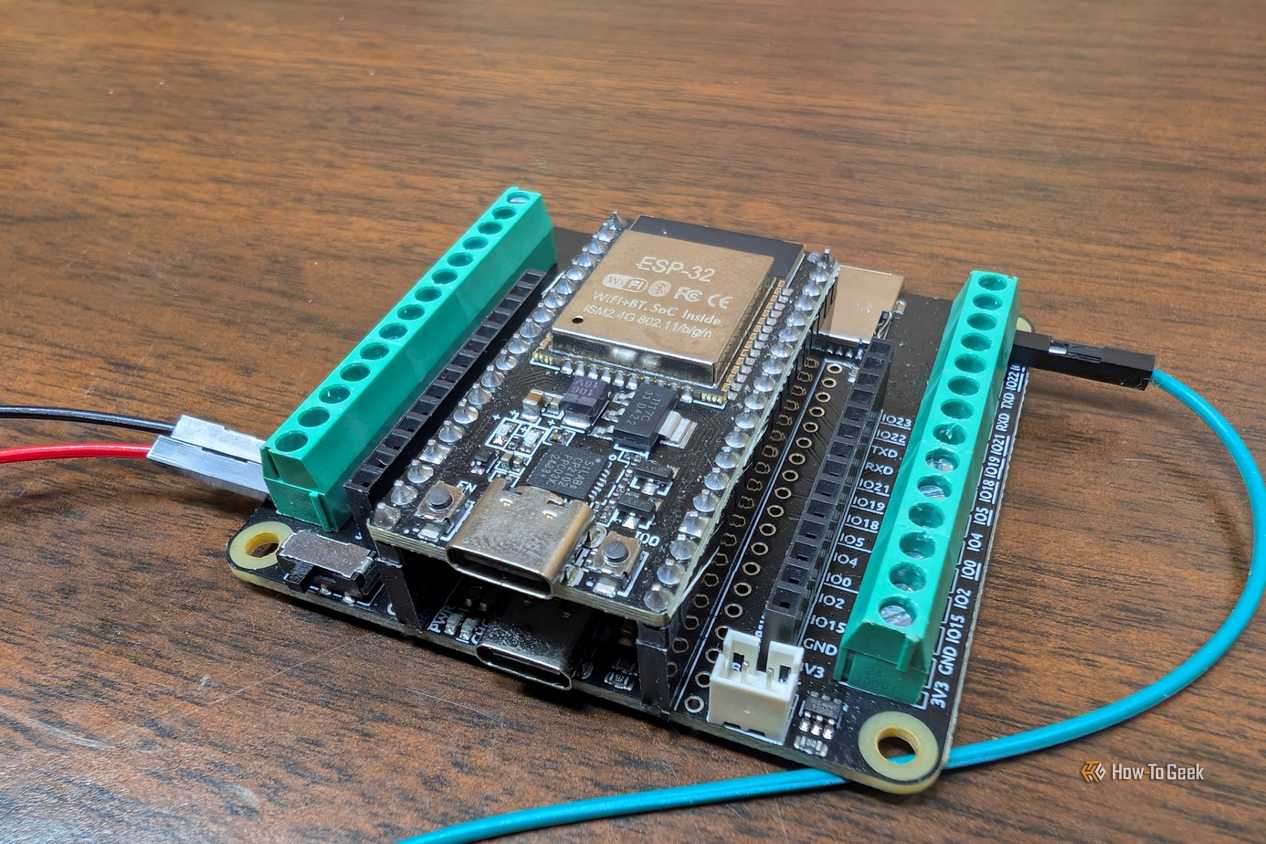
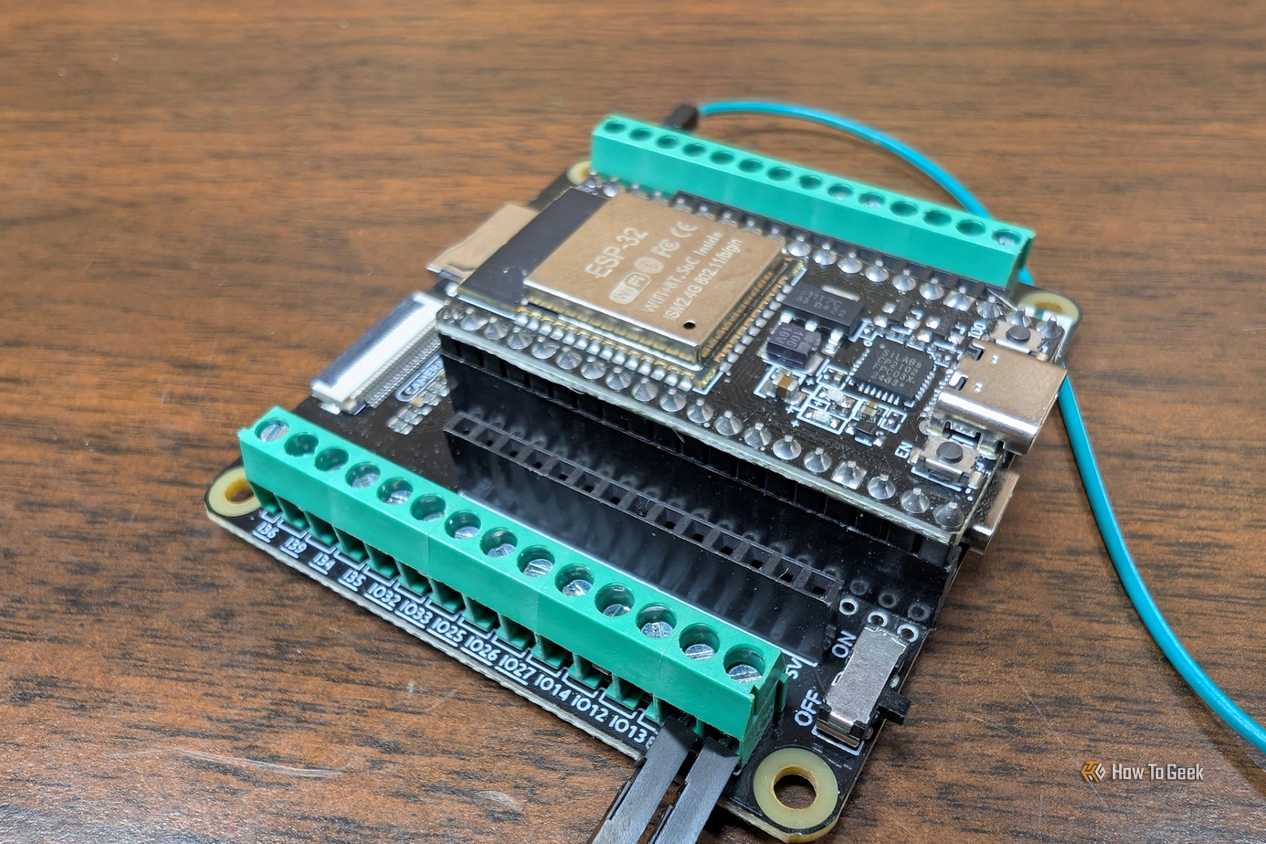
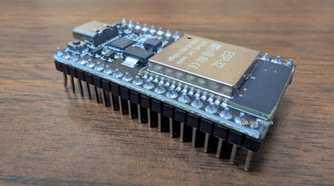
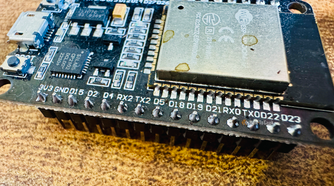
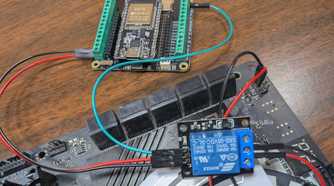
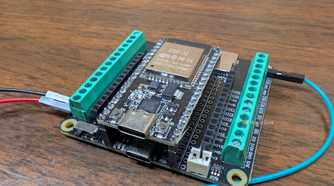
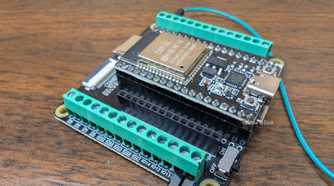
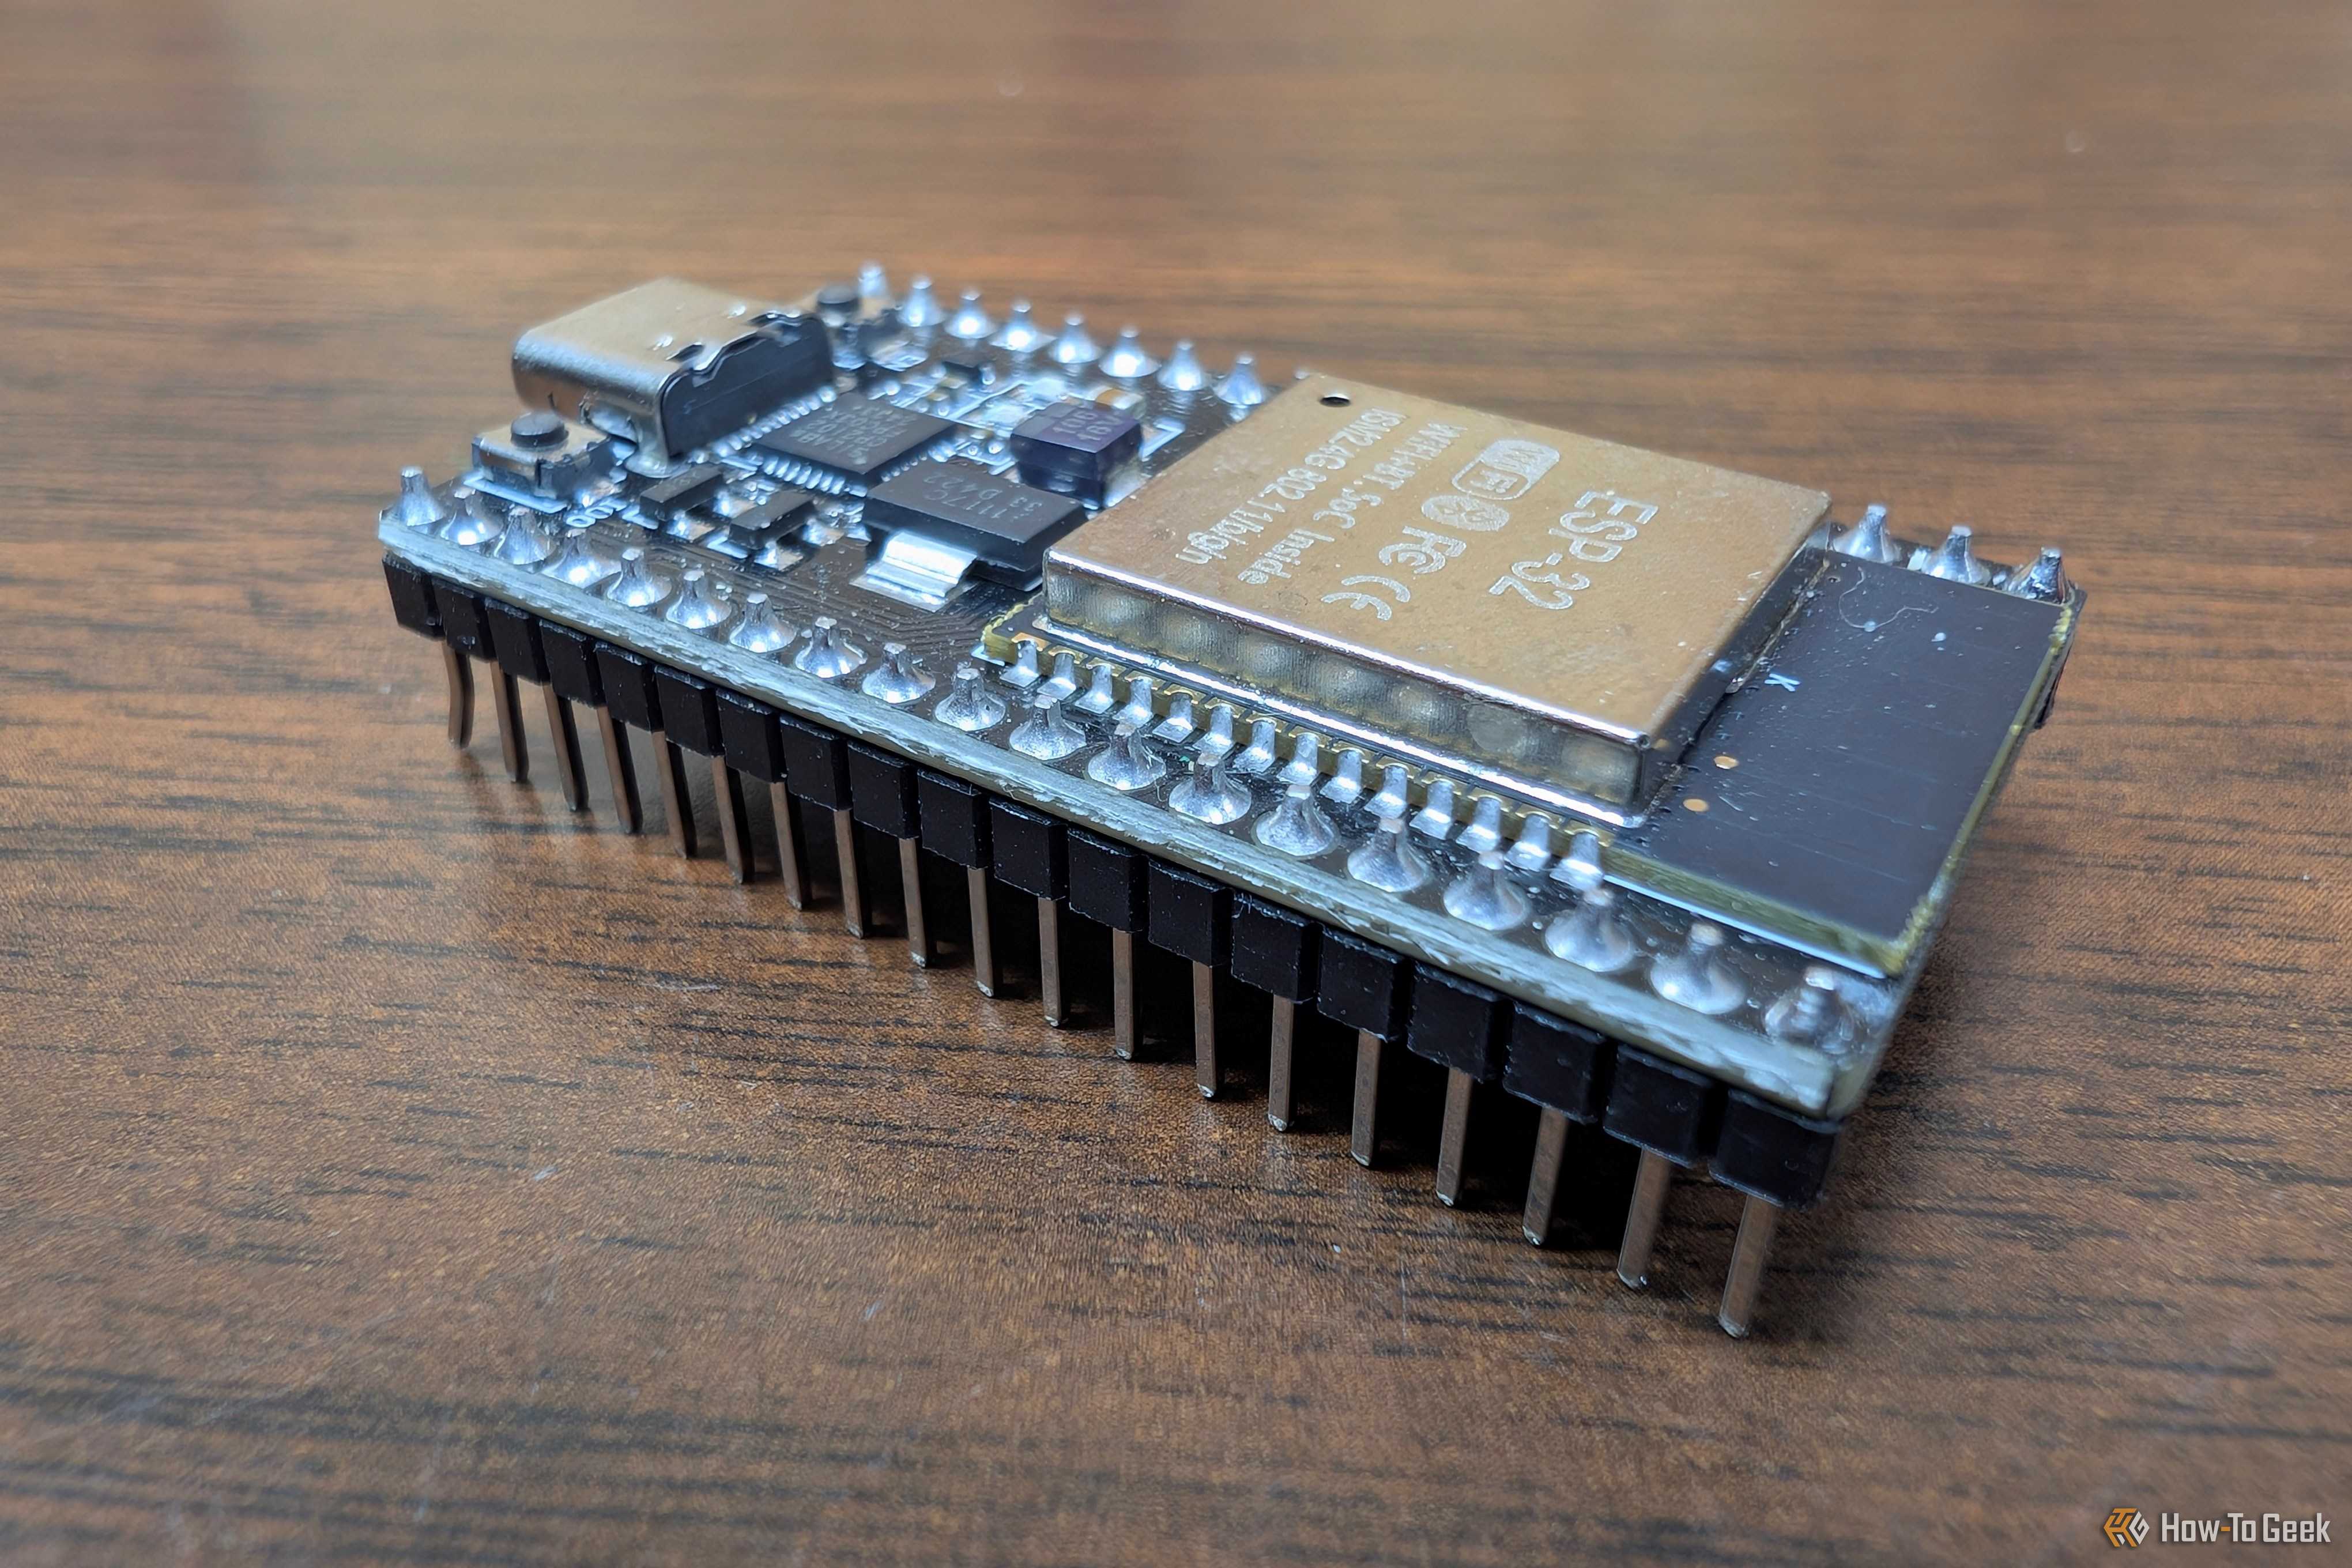
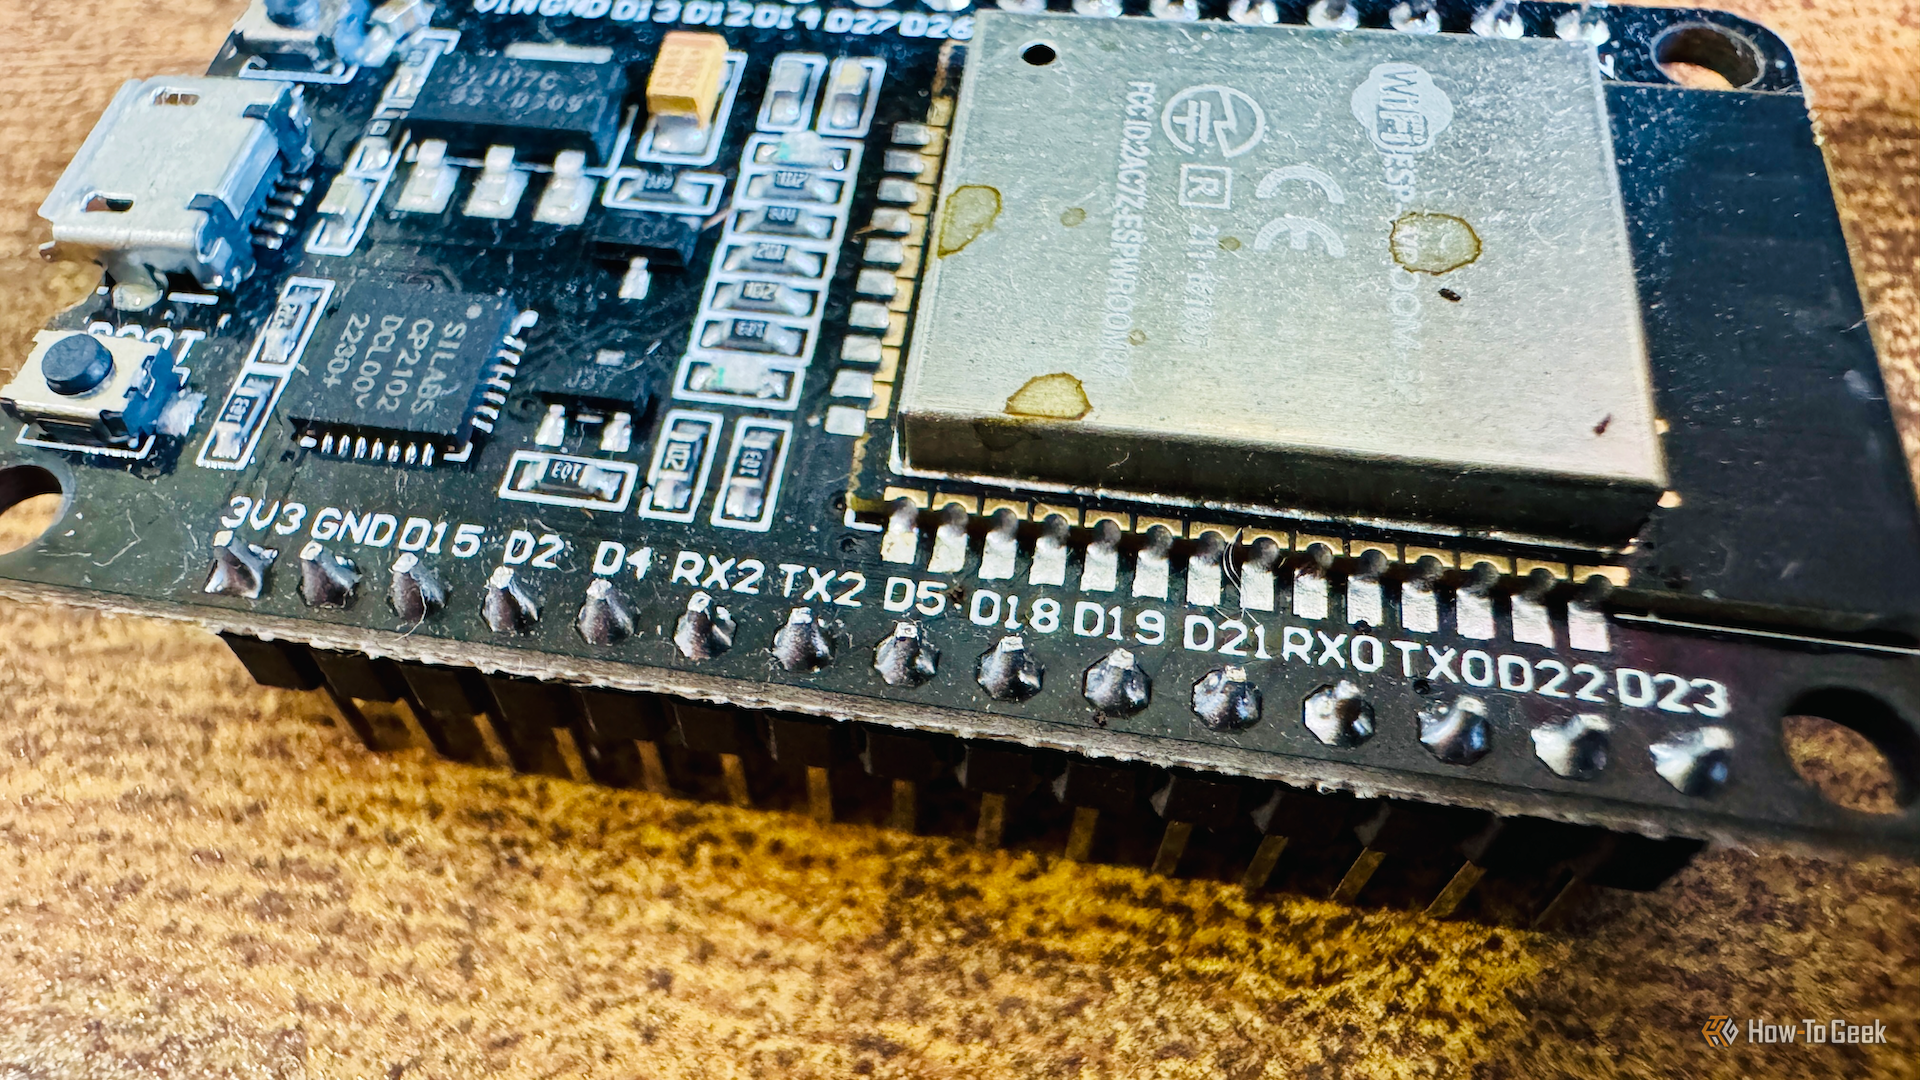
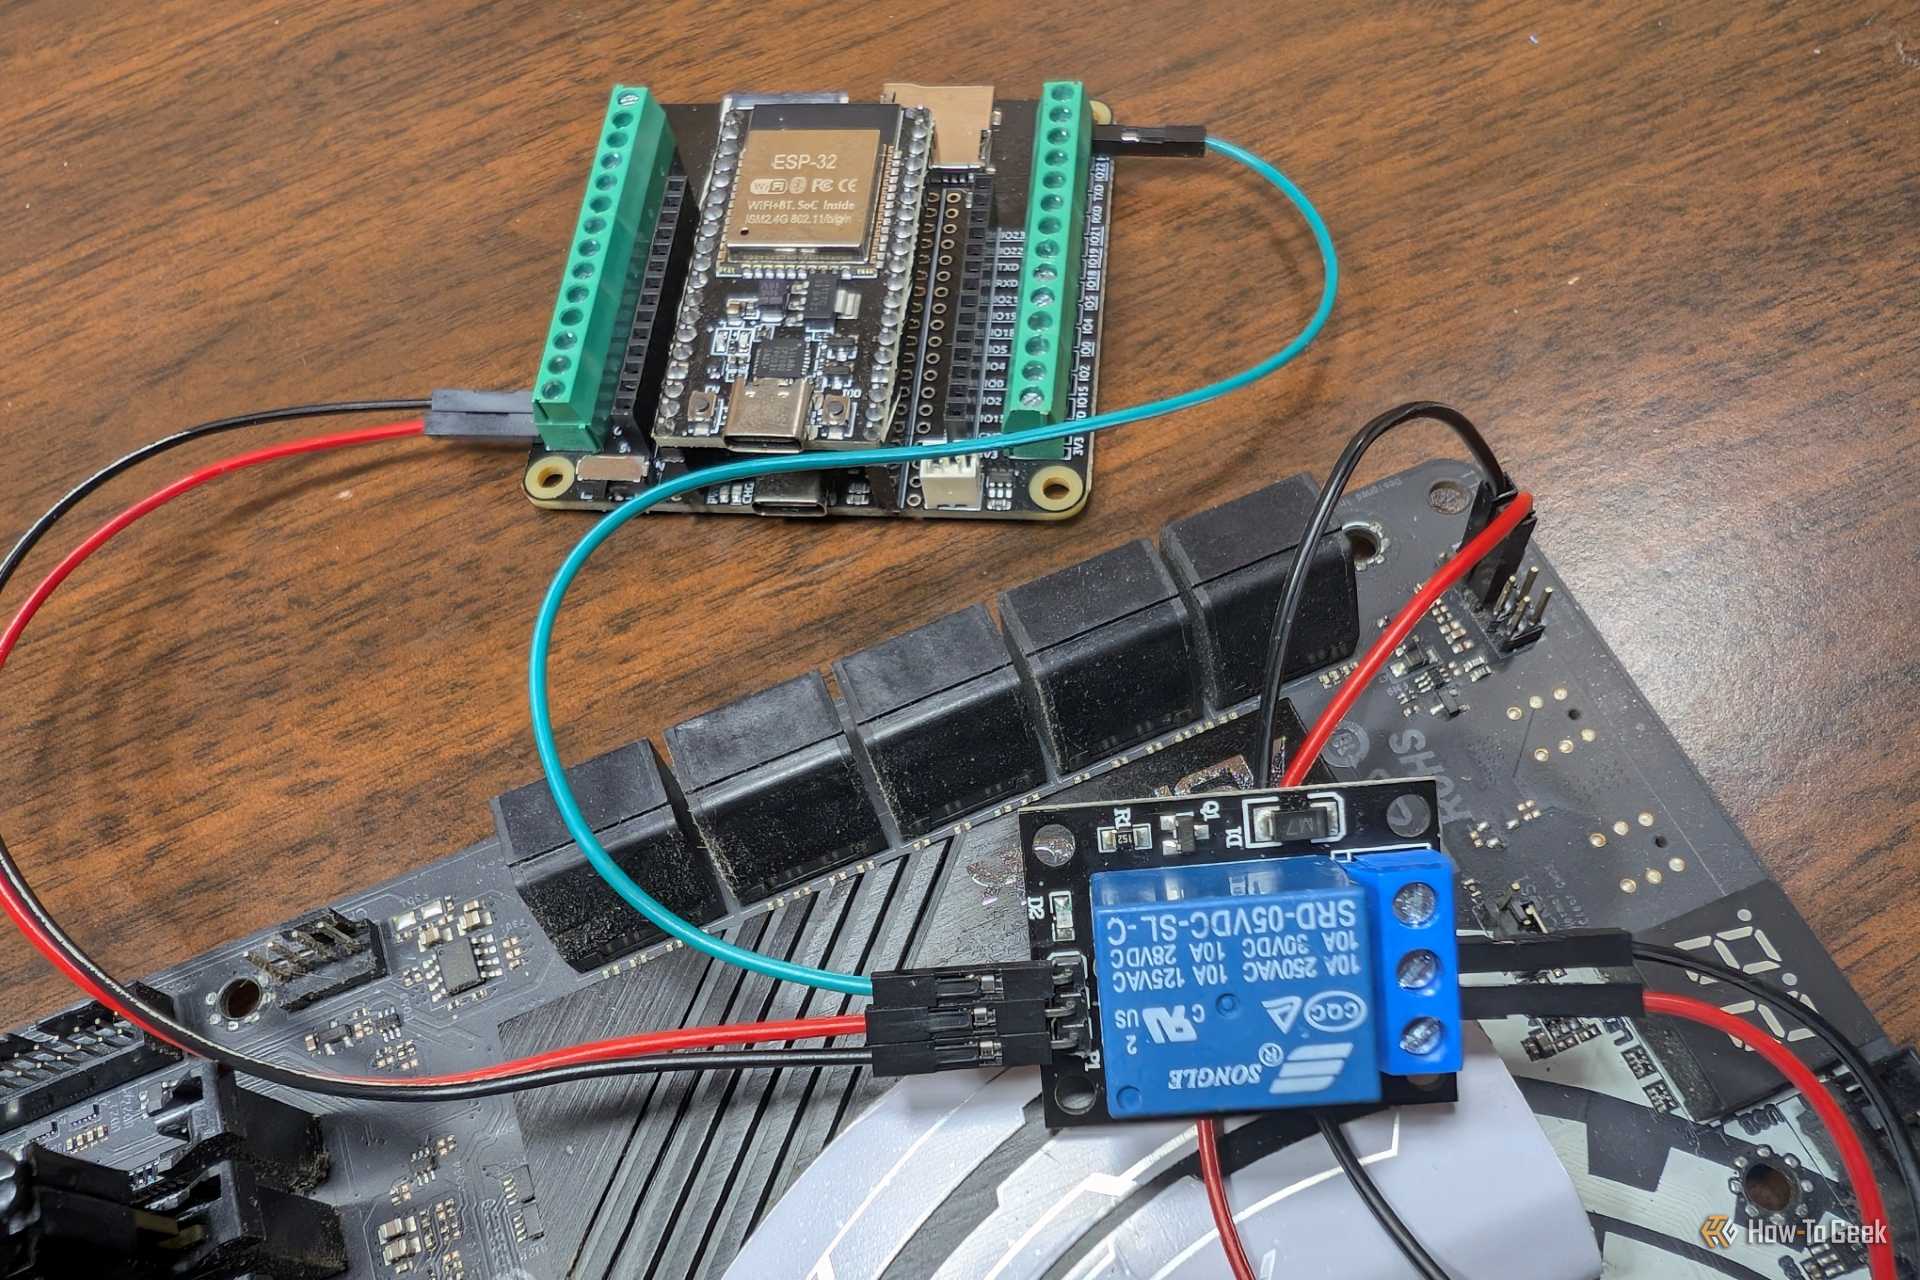
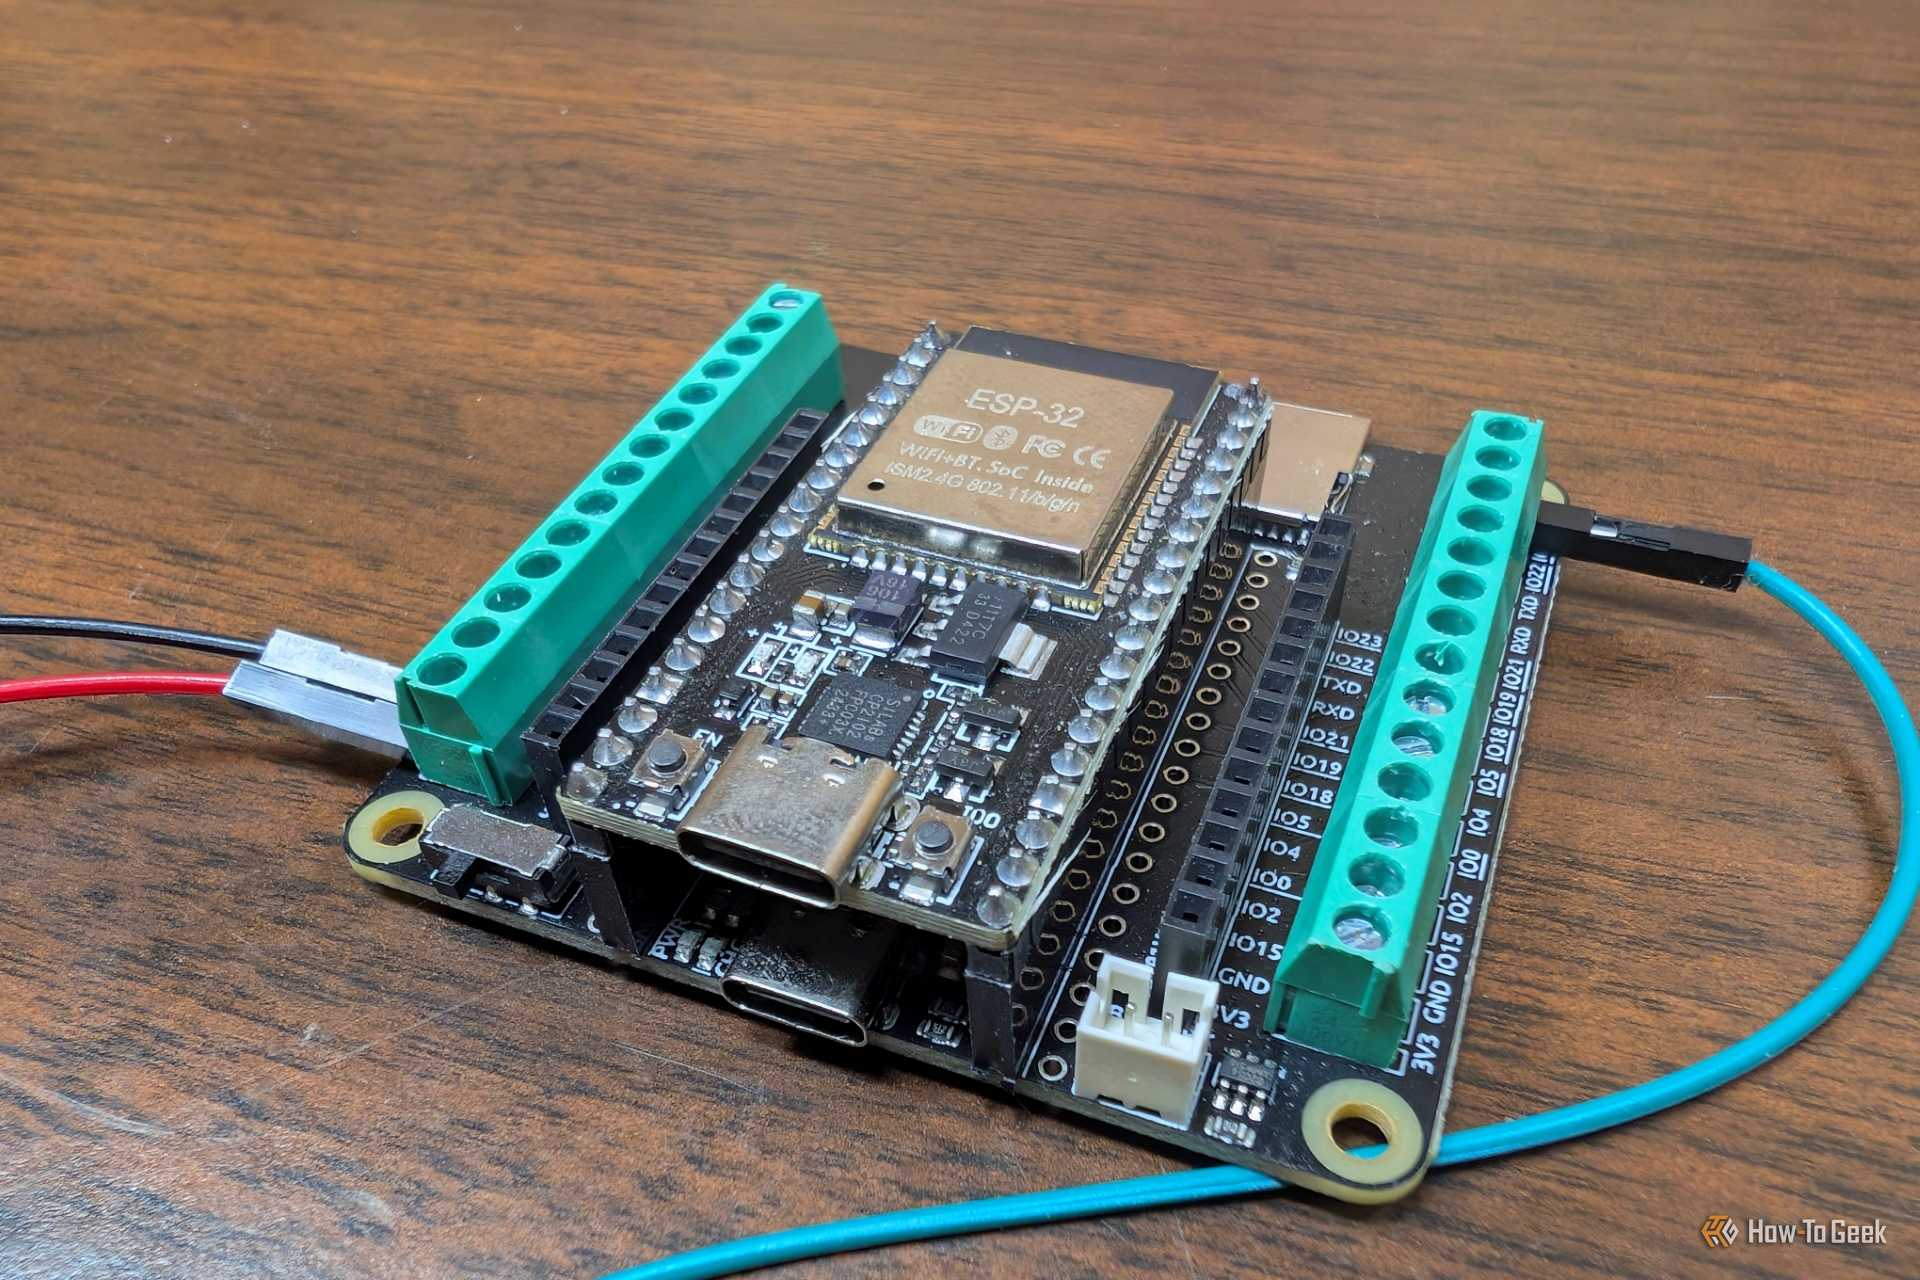
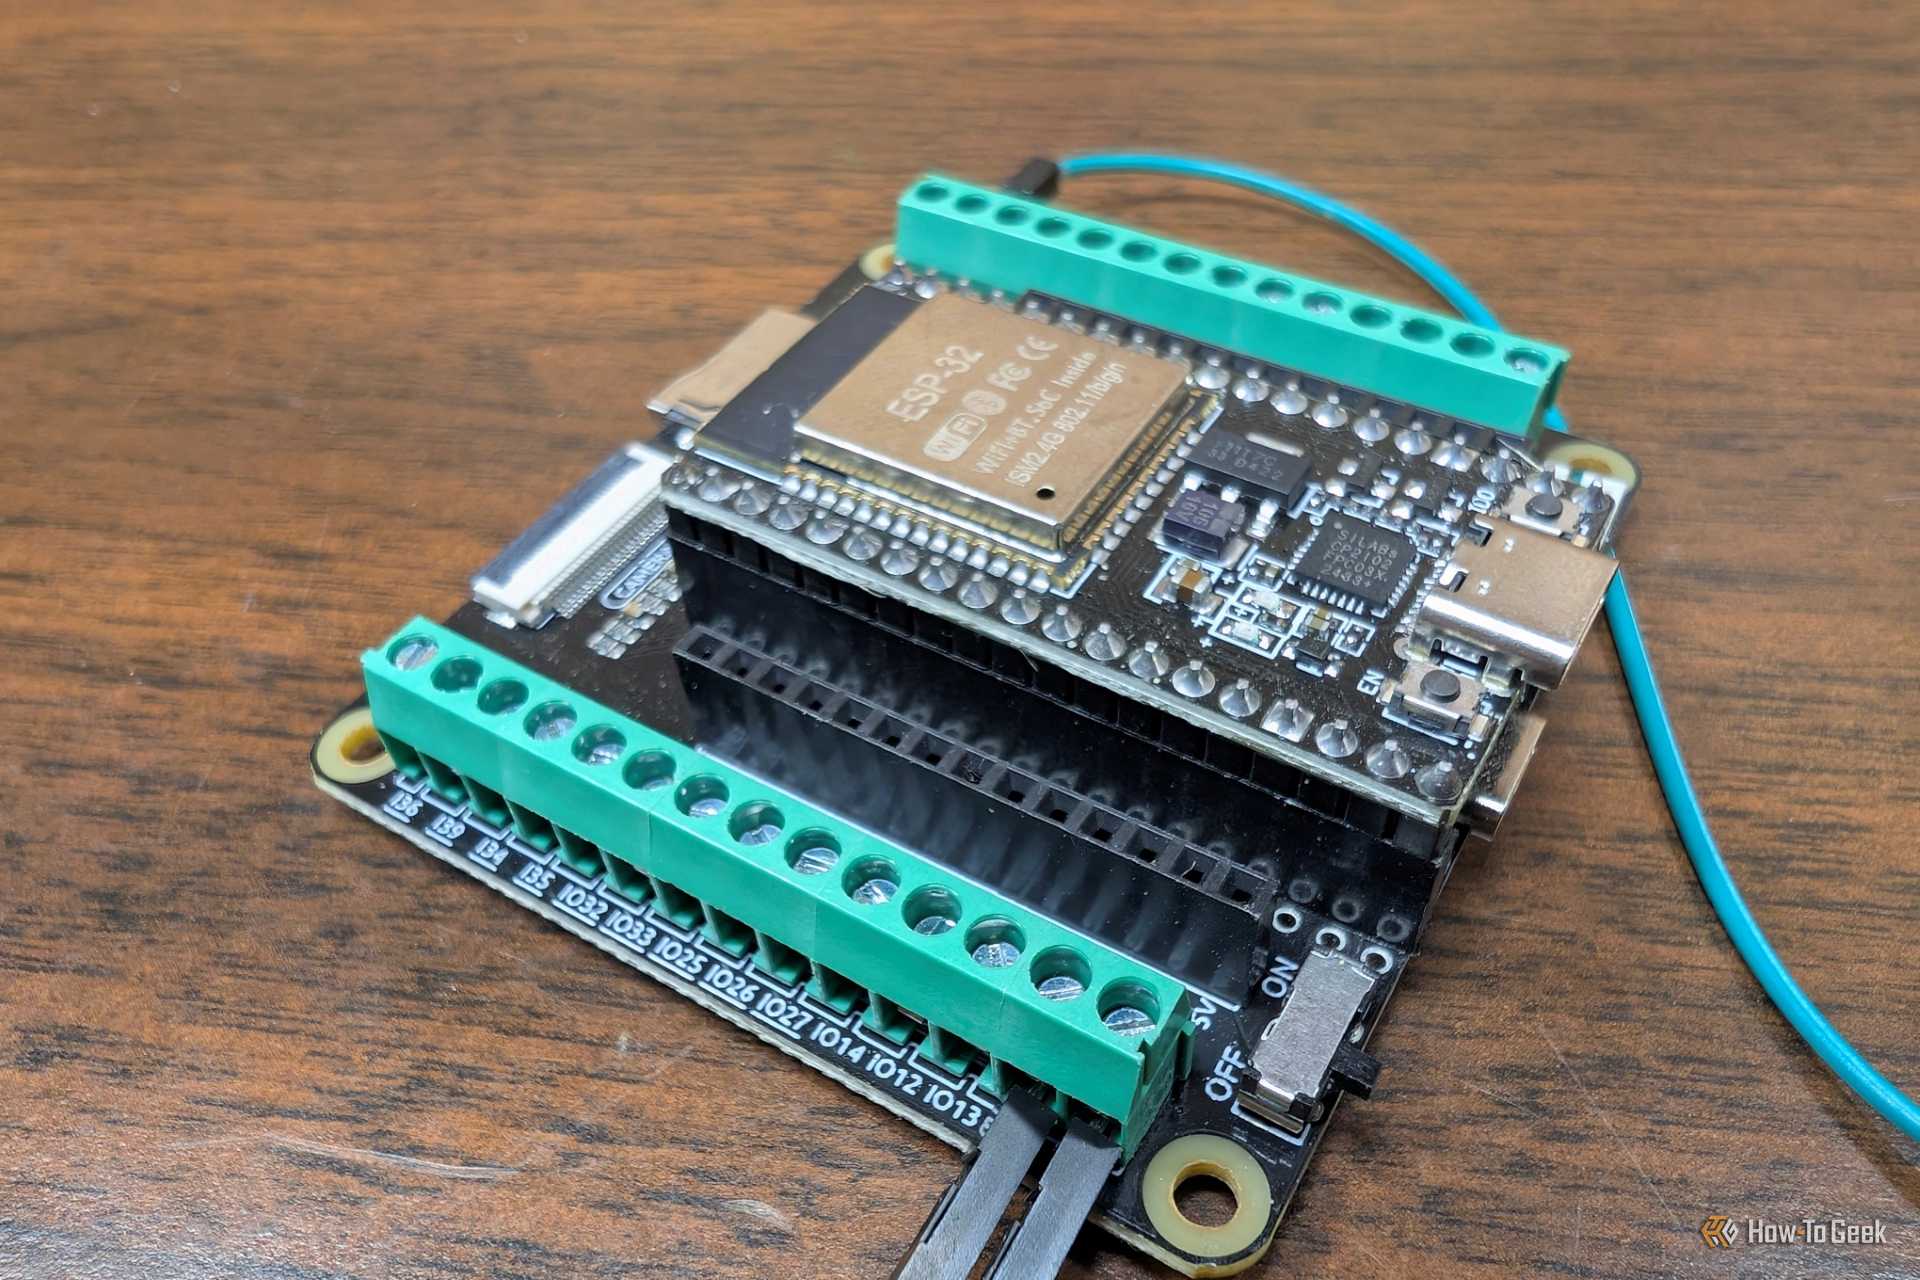
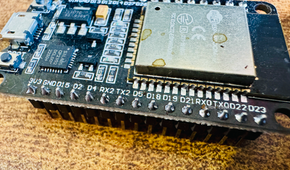
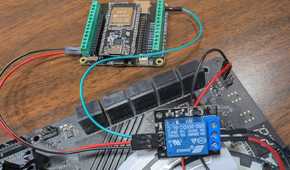
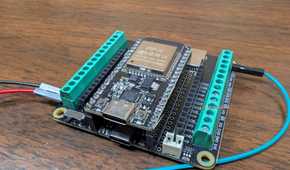
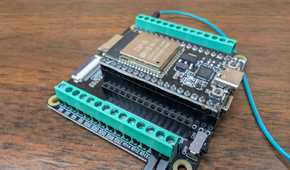
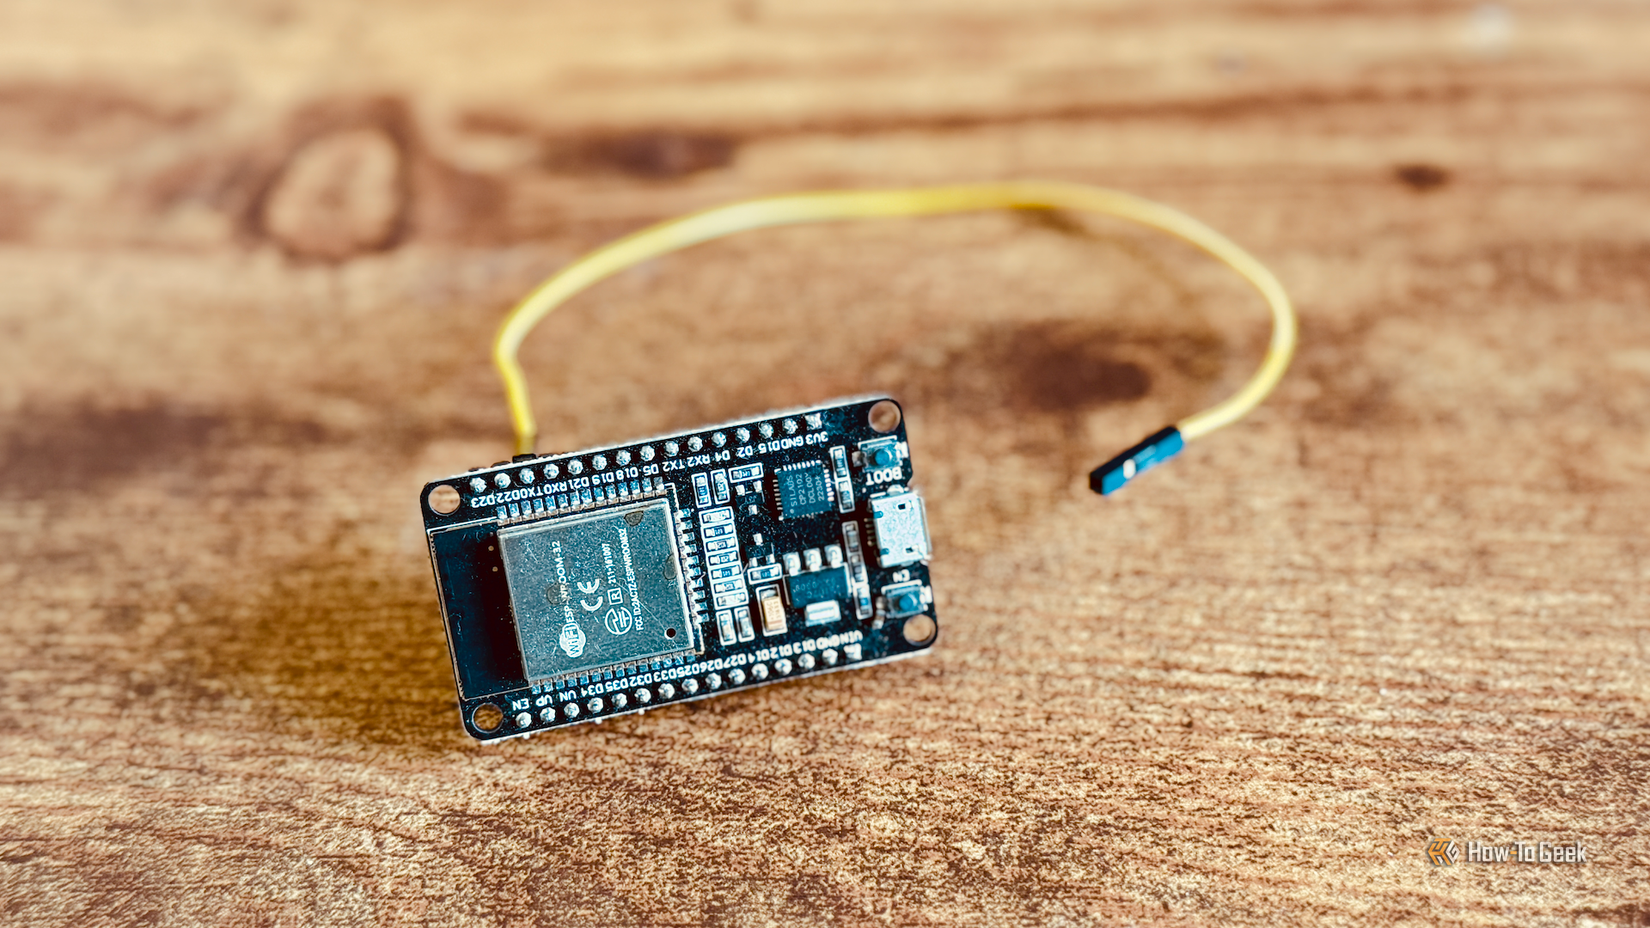
You do not need to spend a lot on your first ESP32. A cheap development board will handle almost anything you throw at it as a beginner. Look for a common board powered by an ESP32-WROOM-32 module with a USB port and easily accessible pin headers.
Take it from me. You definitely want a full development board rather than a bare module. Development boards carry all the extra power and programming circuitry built right in. They also break out the pins so you can plug in wires without burning your fingers with a soldering iron every time you test an idea.
You can learn an incredible amount with just a small collection of cheap components. I usually suggest starting with a simple breadboard, a handful of jumper wires, a few LEDs, some basic resistors, and a couple of tactile push buttons. That small bundle gives you everything you need to experiment with digital inputs and outputs without permanently soldering a single thing to your board.
I also strongly advise learning a few ground rules about electrical safety before you start jamming wires into headers. ESP32 GPIO pins strictly operate at 3.3V logic levels, so feeding a 5V signal directly into a pin will fry the chip in a heartbeat. You will also want to make sure you always place suitable current-limiting resistors in series with your LEDs unless you enjoy watching them turn into tiny, one-time-use smoke machines.
Choose your development environment
Arduino IDE, PlatformIO, and ESP-IDF
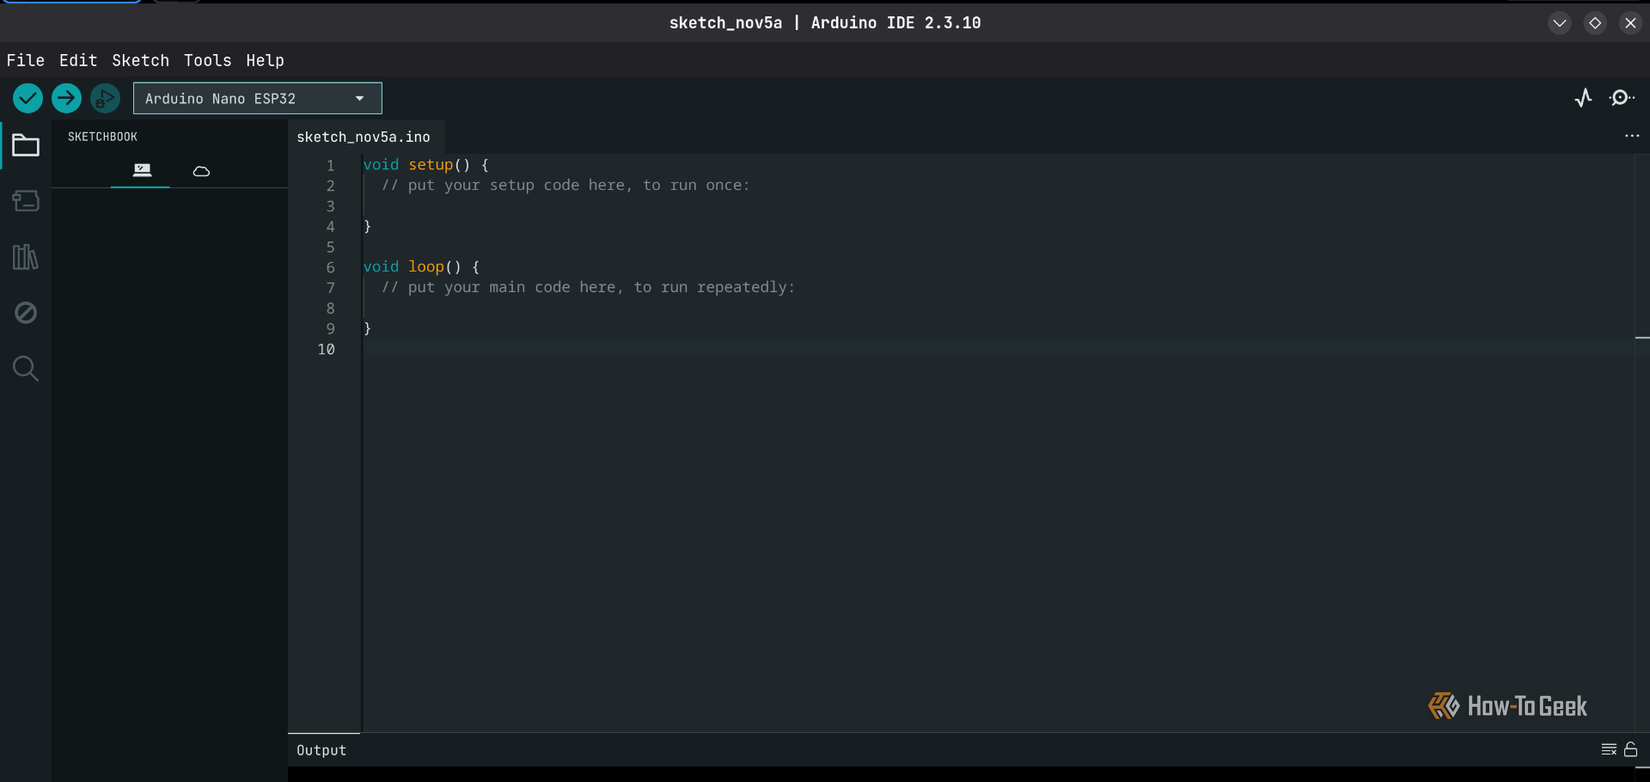
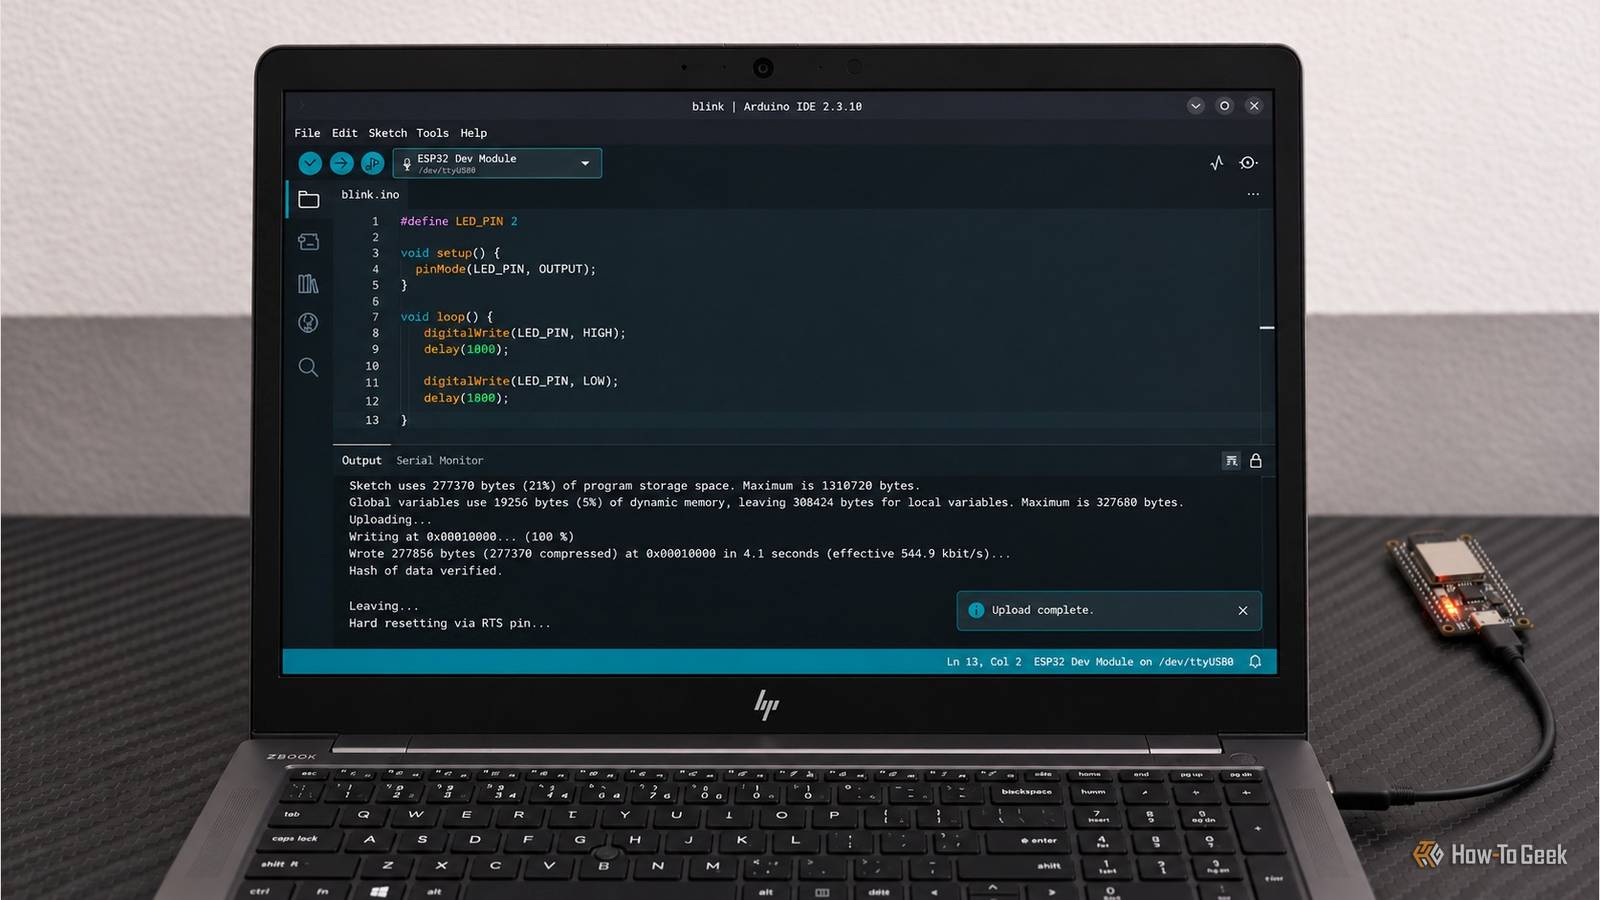
There are several distinct paths you can take to write code to an ESP32. I strongly recommend kicking off your journey with the Arduino IDE. It brings a clean, approachable interface to the table, supports virtually all common ESP32 development boards, and comes packed with ready-to-run example projects.
Setting it up is simple enough; you install the ESP32 board definitions directly through the built-in Boards Manager in the Arduino IDE. Once that setup step is complete, you simply choose your specific board from the dropdown, write your code, hit compile, and flash it over your USB cable.
PlatformIO is another route, especially if you already live inside Visual Studio Code. It offers a much more structured development workflow and handles multiple frameworks seamlessly, including both the Arduino ecosystem and Espressif’s native ESP-IDF.
ESP-IDF is Espressif’s official, bare-metal development framework. It gives you raw, unfiltered access to every internal feature the ESP32 chip has to offer, which is why professionals rely on it for production embedded systems.
However, it also brings a steep learning curve to build configurations and low-level system concepts. If you are completely new to programming microcontrollers, sticking with Arduino at first will save you plenty of headaches. You can always dive into ESP-IDF once you have mastered the fundamentals.
Learn some C and C++ fundamentals
The programming concepts you need to understand
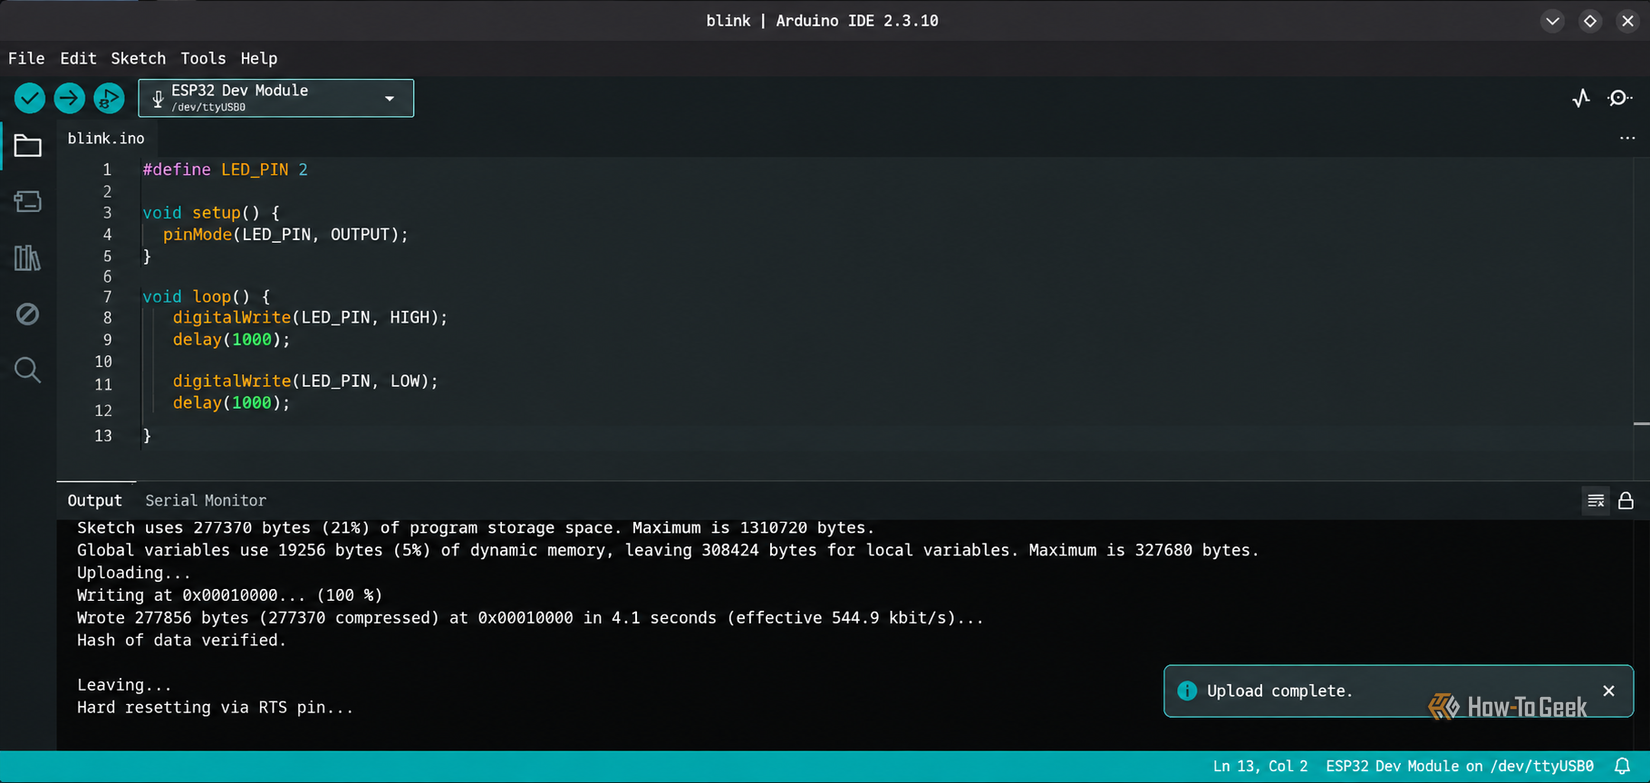
The Arduino environment relies entirely on C and C++, so picking up a few core fundamentals will make a world of difference when you try to figure out what your code is actually doing. You definitely do not need to master either language before hooking up your first ESP32, but becoming comfortable with variables, data types, functions, loops, conditionals, and arrays will clear up plenty of confusion down the road. To see how these building blocks play out in the real world: a variable can hold a temperature reading from a sensor, a conditional statement can decide whether to switch an LED on or off, and a loop can continuously poll a push button to see if anyone clicked it. Functions are equally important because they let you break your application into bite-sized, modular chunks that are much easier to read, reuse, and debug when things go sideways.
My biggest piece of advice is to avoid the trap of spending months studying C syntax theory before ever flashing a microcontroller. Learn just enough to understand what you are typing into the editor, and then pick up new language features on the fly as your project goals demand them.
Once you build up some confidence, you can start exploring pointers, structs, header files, and the mechanics of how C and C++ programs actually compile. Those concepts become absolute lifesavers as soon as your sketches expand beyond a few simple lines and start turning into proper embedded projects.
Start with GPIO and simple electronics projects
Make an LED blink and connect a button
Your very first project should be something simple and direct, like making an LED blink. It might feel almost too basic at first glance, but it introduces the single most important foundation in embedded engineering, that is using software to control physical hardware.
The ESP32 gives you GPIO pins that you can dynamically toggle as either inputs or outputs. Configuring a pin as an output lets you drive an LED or send signals, while setting a pin as an input lets you read the live state of a push button or any other digital sensor.
Once you get a handle on how basic GPIO operations work, start playing around with the delay timing in your LED sketch. Try making it blink at rapid-fire speed, add a longer pause between state changes, or build a custom repeating pulse pattern. From there, wire up a tactile push button and write a small program that toggles the LED state every time you press it.
These foundational exercises teach you core software concepts while showing you exactly how code interacts with electronic components in the real world. Just as importantly, they give you early hands-on practice by troubleshooting loose breadboard wiring and learning how different GPIO pins behave on your specific board.
Experiment with sensors and other components
Move from basic inputs and outputs to real projects
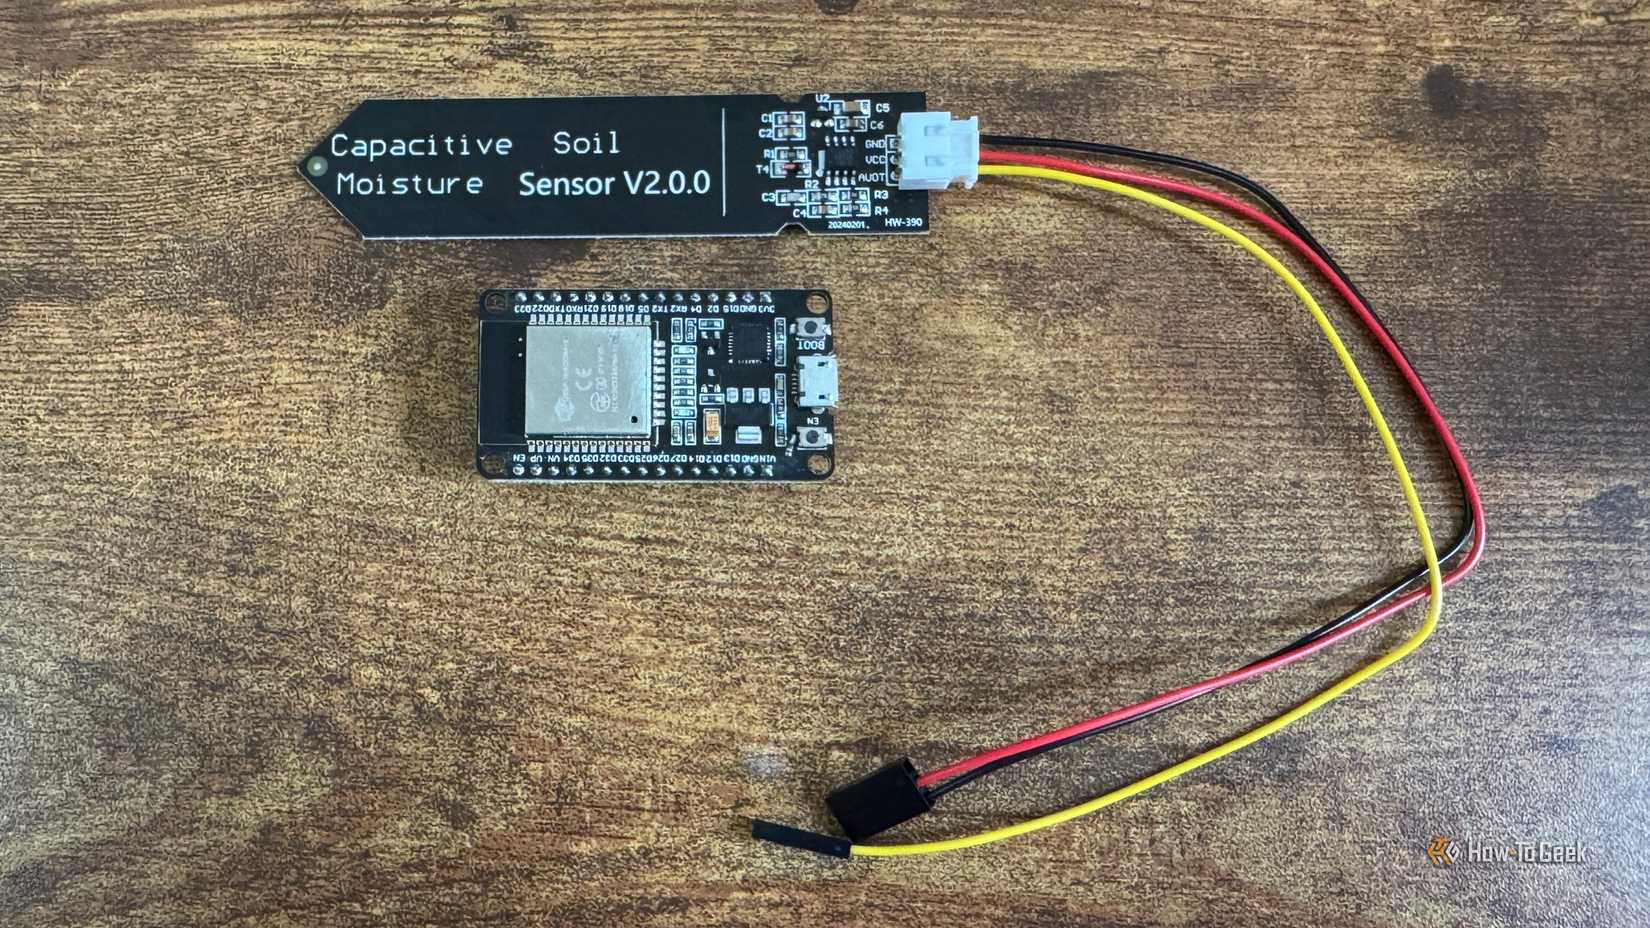
After you get comfortable with basic GPIO, try branching out into components that deliver different types of input and output. A potentiometer, for example, lets you vary an analog voltage that the ESP32 can read through its built-in Analog-to-Digital Converter (ADC). You can then use those raw analog readings to dynamically adjust an LED’s brightness using PWM or dial in the speed of a blinking pattern on the fly.
From there, you can gradually experiment with temperature and humidity sensors, small OLED displays, and various peripheral modules. These types of hardware introduce core communication protocols like I2C and SPI, which allow the ESP32 to exchange structured data with external chips using just a couple of signal lines.
I would strongly resist the temptation to jump straight into a complex Wi-Fi or Bluetooth project on day one. Building a solid foundation in reading local sensors, handling communication buses, and processing data offline will make building fully connected IoT devices significantly easier down the line.
Use AI without letting it do the learning for you
The core issue with vibe coding is the lack of situational awareness. If you cannot read the generated code, or trace what the software is telling the silicon to do, you are essentially gambling, but you can use AI to improve speed and reduce manual effort while retaining an understanding of what your code does. AI is great at tedious tasks such as writing repetitive boilerplate, drafting data parsing routines, converting raw register configurations into readable structures, and formatting log outputs.
Rather than asking AI to build an entire project, use it to isolate individual concepts and help you understand the logic behind them. Once you understand the context, open your editor, write or tweak the code yourself, flash the chip, and observe its physical behavior on your bench.