Setting up a brand-new computer should feel clean and fast, but modern operating systems treat your personal desktop like an advertising billboard from the second you log in. It gets frustrating watching basic hardware stutter under background tasks you never wanted or asked for. Unfortunately, the best way to make Windows 11 faster is to turn off features it tries to force on you.
Why your clean install still arrives full of junk
The system stages unwanted software before you even log in
When you install Windows 11, the OS comes packed with pre-installed apps, promotional tiles, and cloud-connected features right out of the box. Windows sets up apps in two stages. First they get stored at the system level, and then they get turned on for each user. Built-in apps and pre-bundled software packages start as master templates stored inside the protected system folder at C:Program FilesWindowsApps. At this point, they’re dormant and not using any RAM or CPU.
The AppX Deployment Service starts when a new user profile is created or someone logs in for the first time. That’s when your PC registers those apps for that user and creates per-user app data folders under %LocalAppData%Packages. On top of that, PC manufacturers and Microsoft use LayoutModification.json to inject custom app shortcuts, trial software, and welcome screens directly into the Start menu.
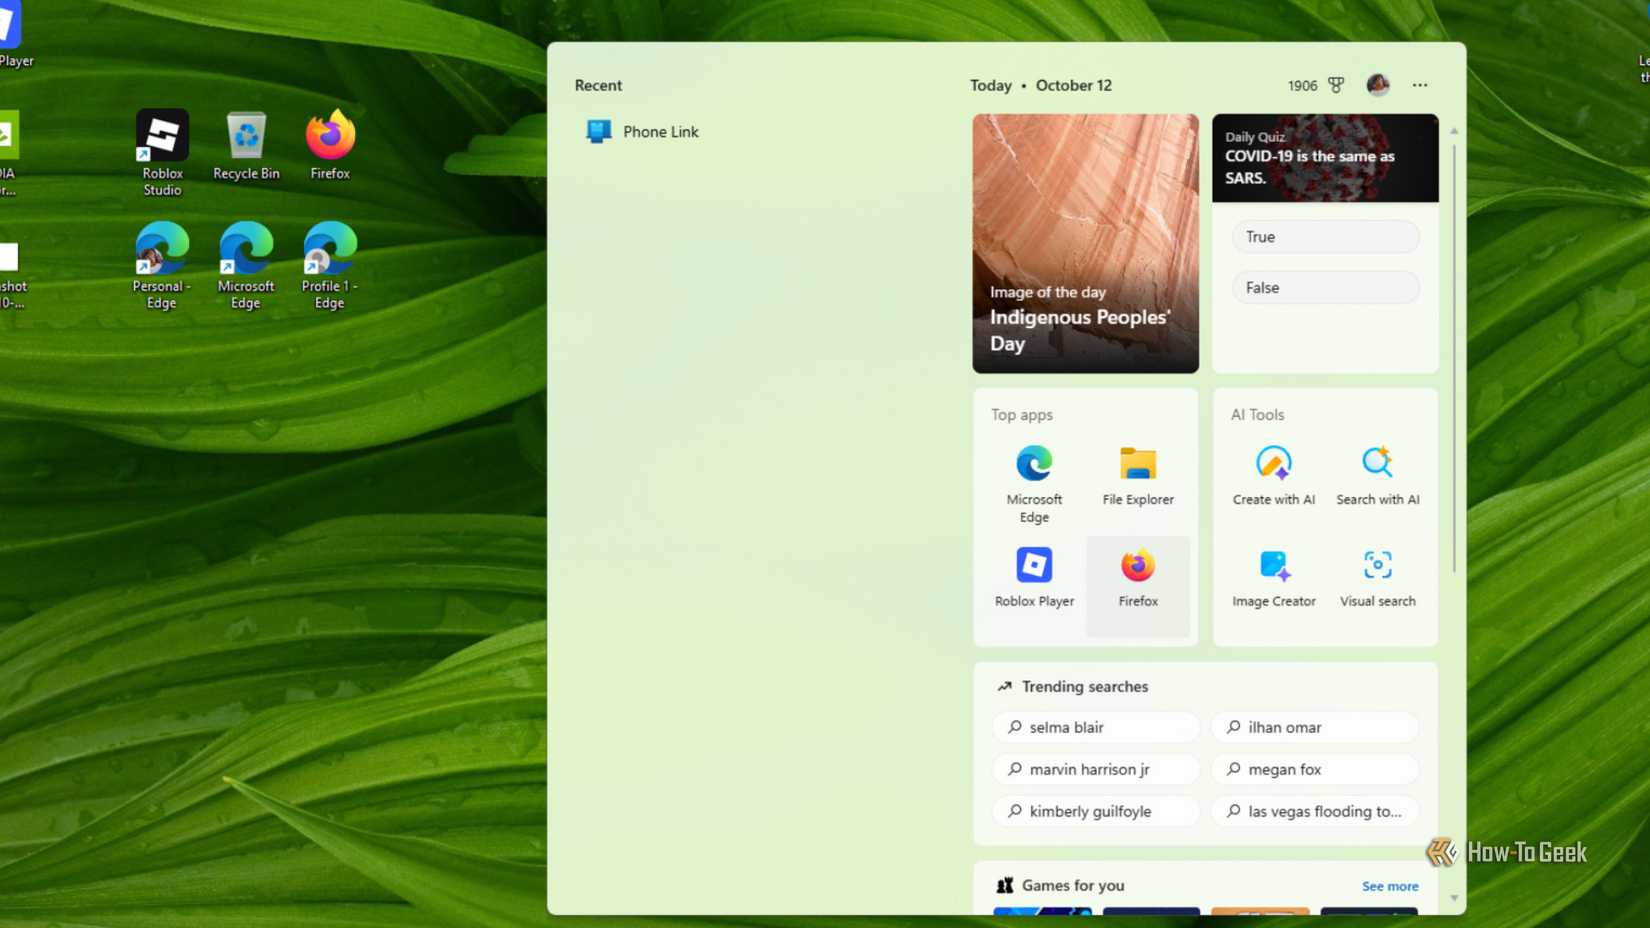
The promotional stuff goes even deeper than that, unfortunately. Microsoft’s Consumer Experience feature connects to its cloud servers during setup, and sometimes in the background, to pull down app placeholders. These are shortcuts for casual games, social media apps, and other software, and it pins them to your Start menu. It does all of that without actually asking you first.
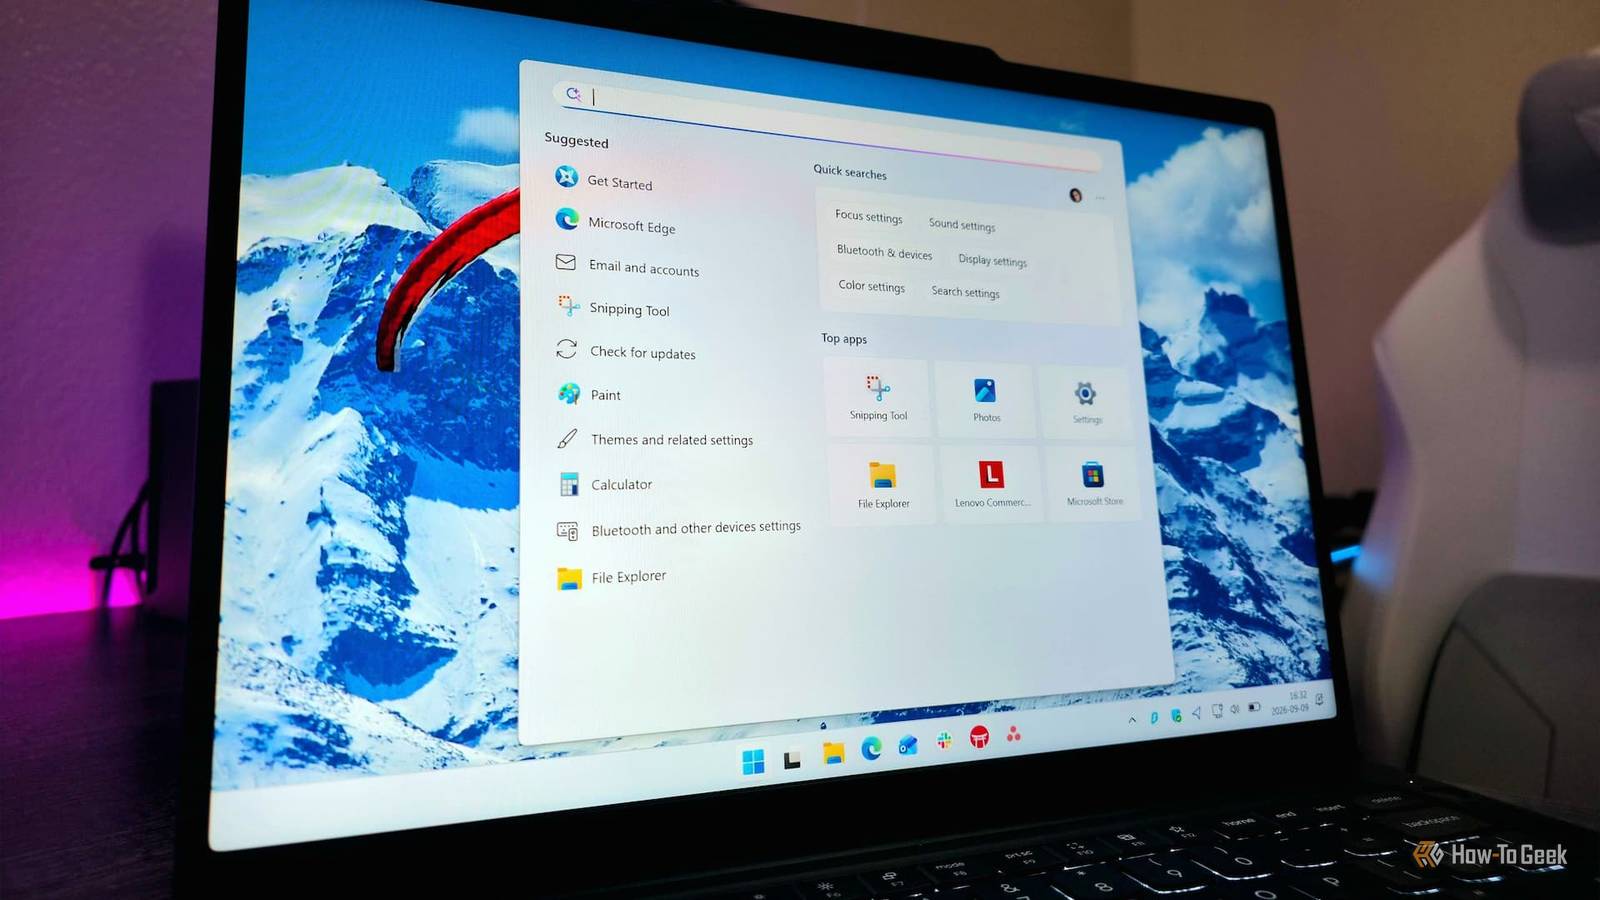
Local search is also tied to the web by default. Every time you type into the Start menu or taskbar search box, Windows searches your local files and then sends a request to Bing to grab web suggestions, trending news, and promoted content. This is one of the worst parts of having Windows 11, because the promotional stuff shows up all over the place. I normally see it in the Start menu’s Recommended section, in lock screen tips, and on promo cards inside the Settings app pushing Microsoft 365 and OneDrive.
These pre-installed apps run background processes, scheduled tasks, and startup entries that eat up your RAM and CPU. All of this adds up during boot and login, and you end up with a noticeable amount of extra disk activity and memory usage. On lower-end devices with limited RAM or slow eMMC storage, cleaning this stuff out makes a real difference.
You can clear out the extra junk without breaking anything
Basic settings and terminal commands will clear out the files
You don’t want to try and take everything down all at once. When you clean up Windows 11, you should do it in layers, starting with the easy stuff and working your way up if you need to go further.
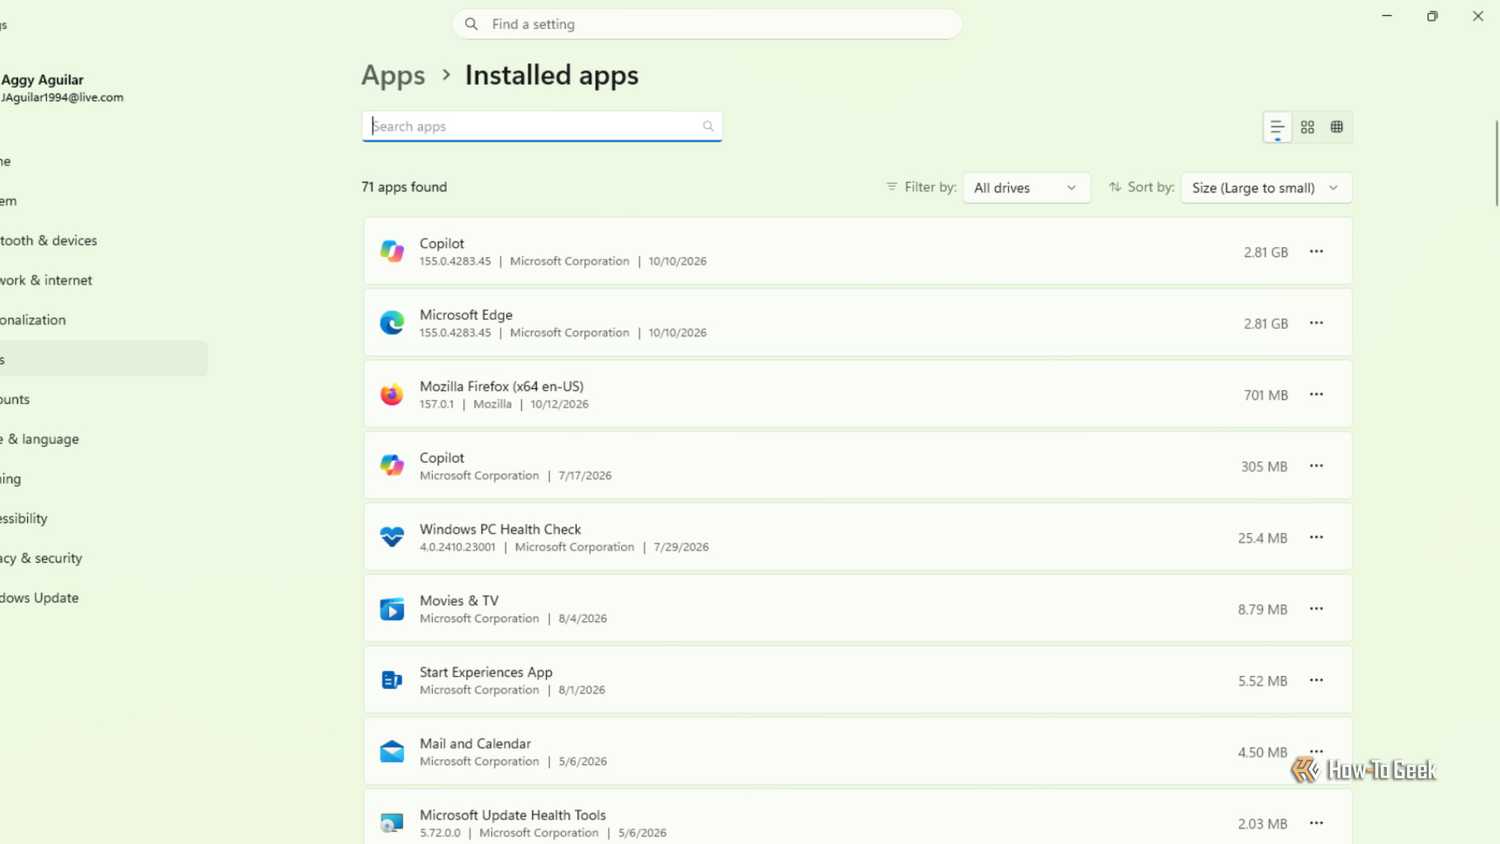
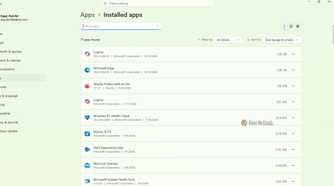
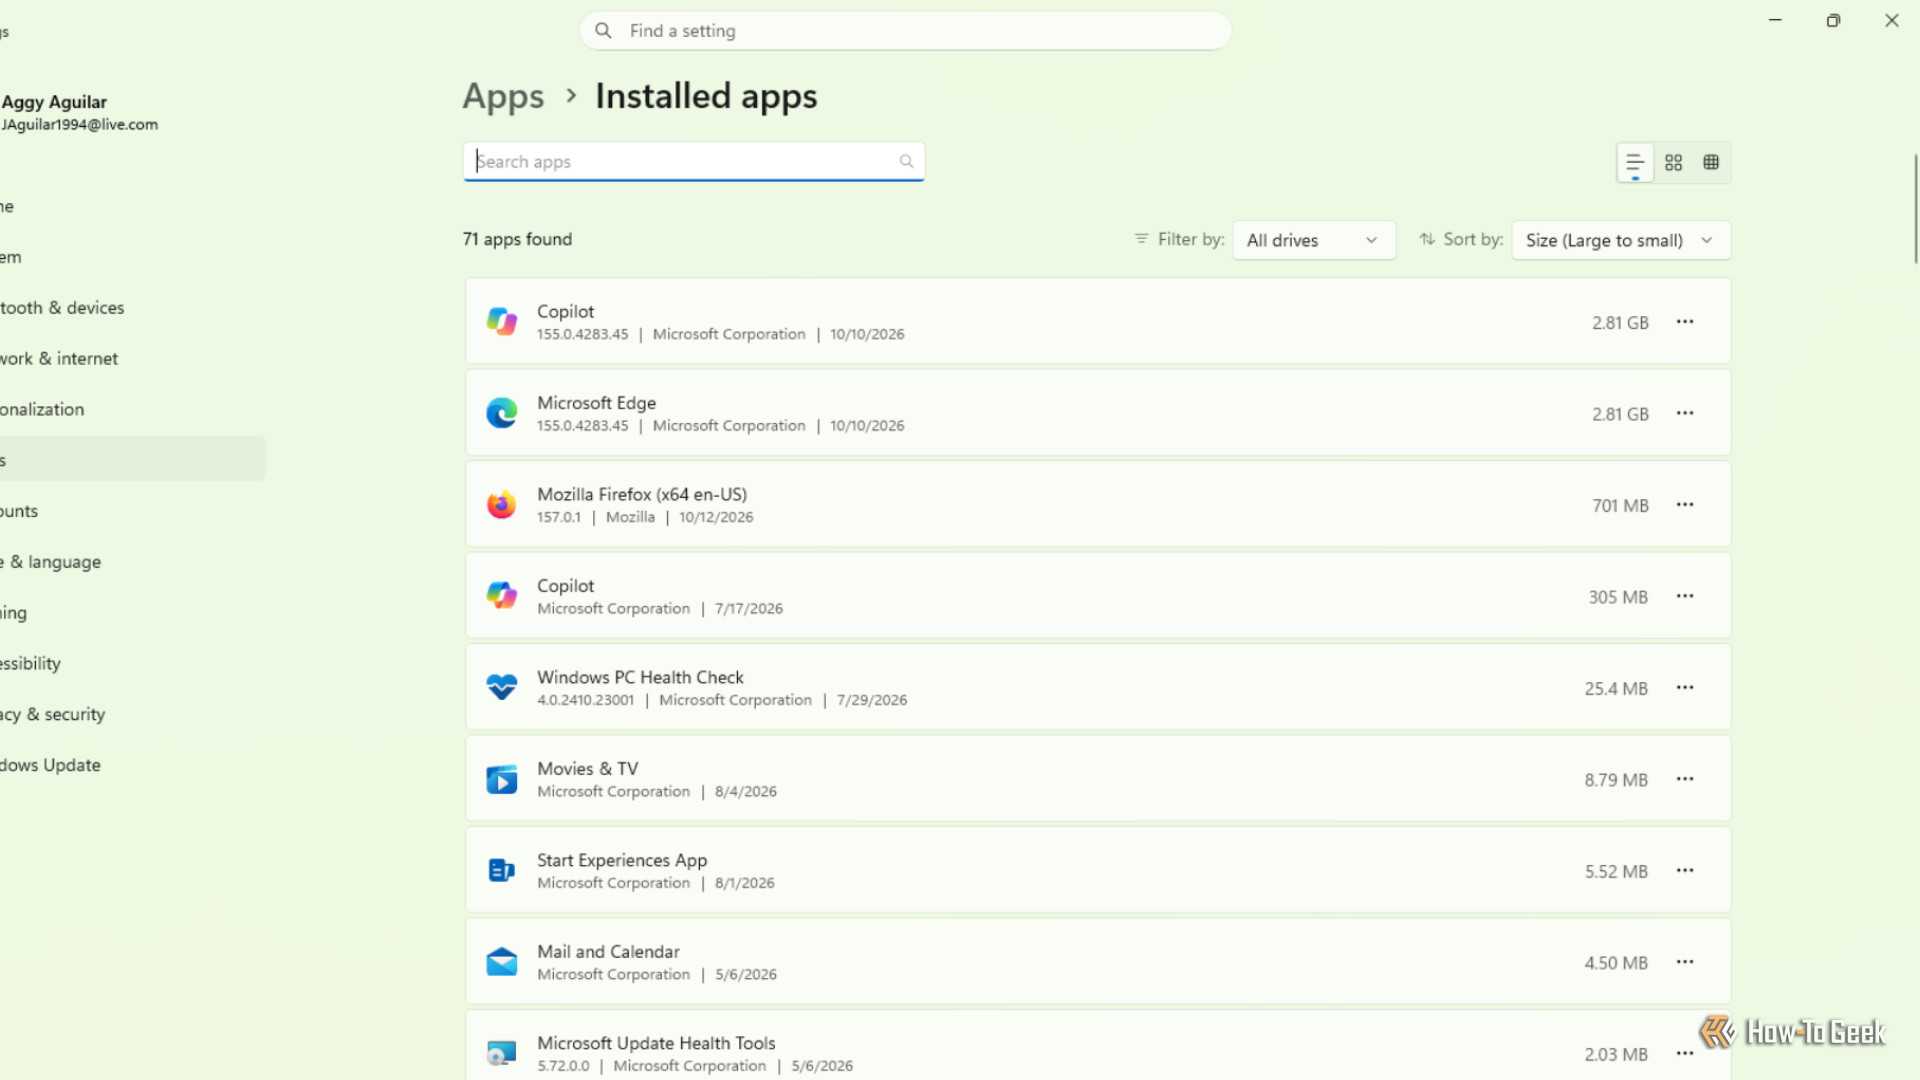
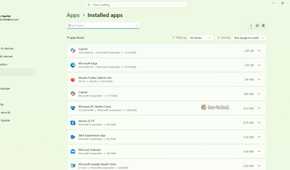
The easiest place to start is Settings, then Apps, then Installed apps. Sort the list by size or install date to find non-essential apps like Microsoft News, Clipchamp, Solitaire, and OEM trial software, then uninstall them from there. The catch is that this only removes the app from your profile. The underlying template is still sitting in the system image.
To stop uninstalled apps from returning every time a new user logs in, you need PowerShell. Running Get-AppxProvisionedPackage -Online in an elevated session gives you a list of every app template staged in the system image. To permanently remove one of those templates, run Remove-AppxProvisionedPackage -Online -PackageName with your target package name.
This is different from Remove-AppxPackage, which only removes the app from the current user’s profile. If you run Remove-AppxPackage without also running Remove-AppxProvisionedPackage, the next major Windows update will treat the app as a system feature, stage the files back into C:Program FilesWindowsApps, and re-register it for every user who logs in.
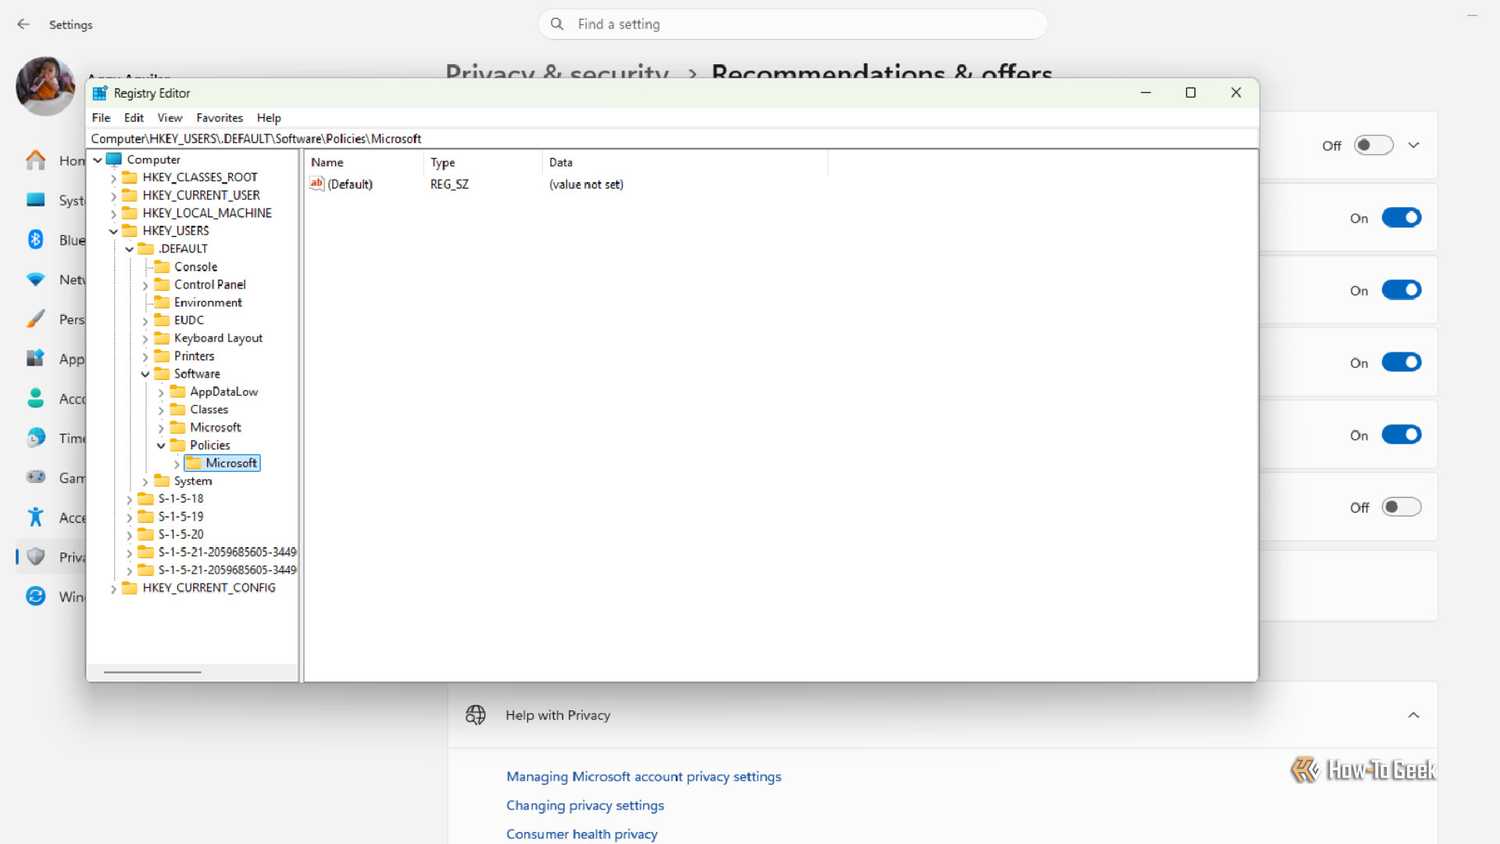
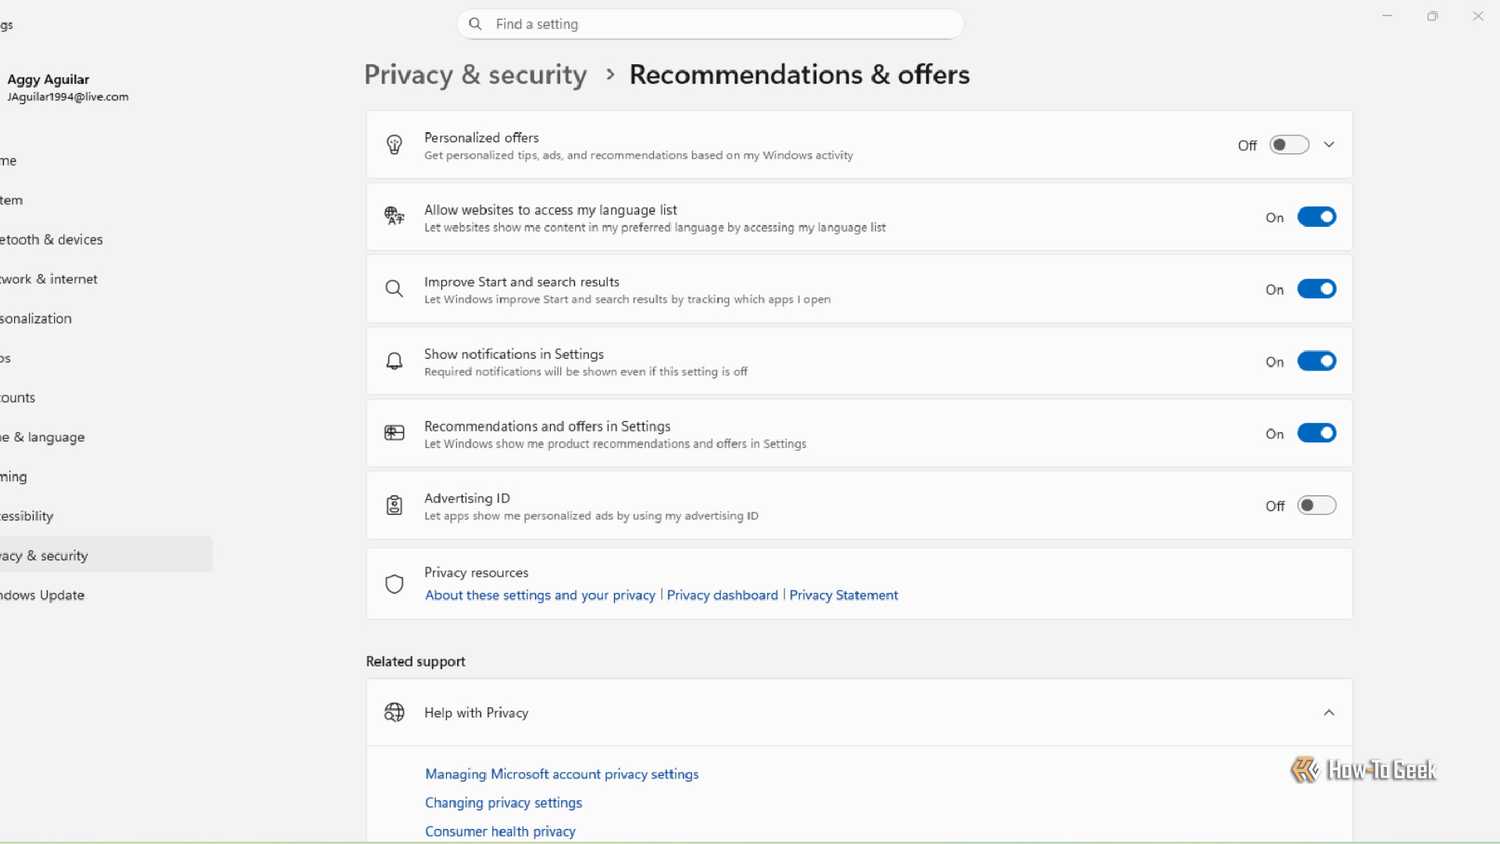
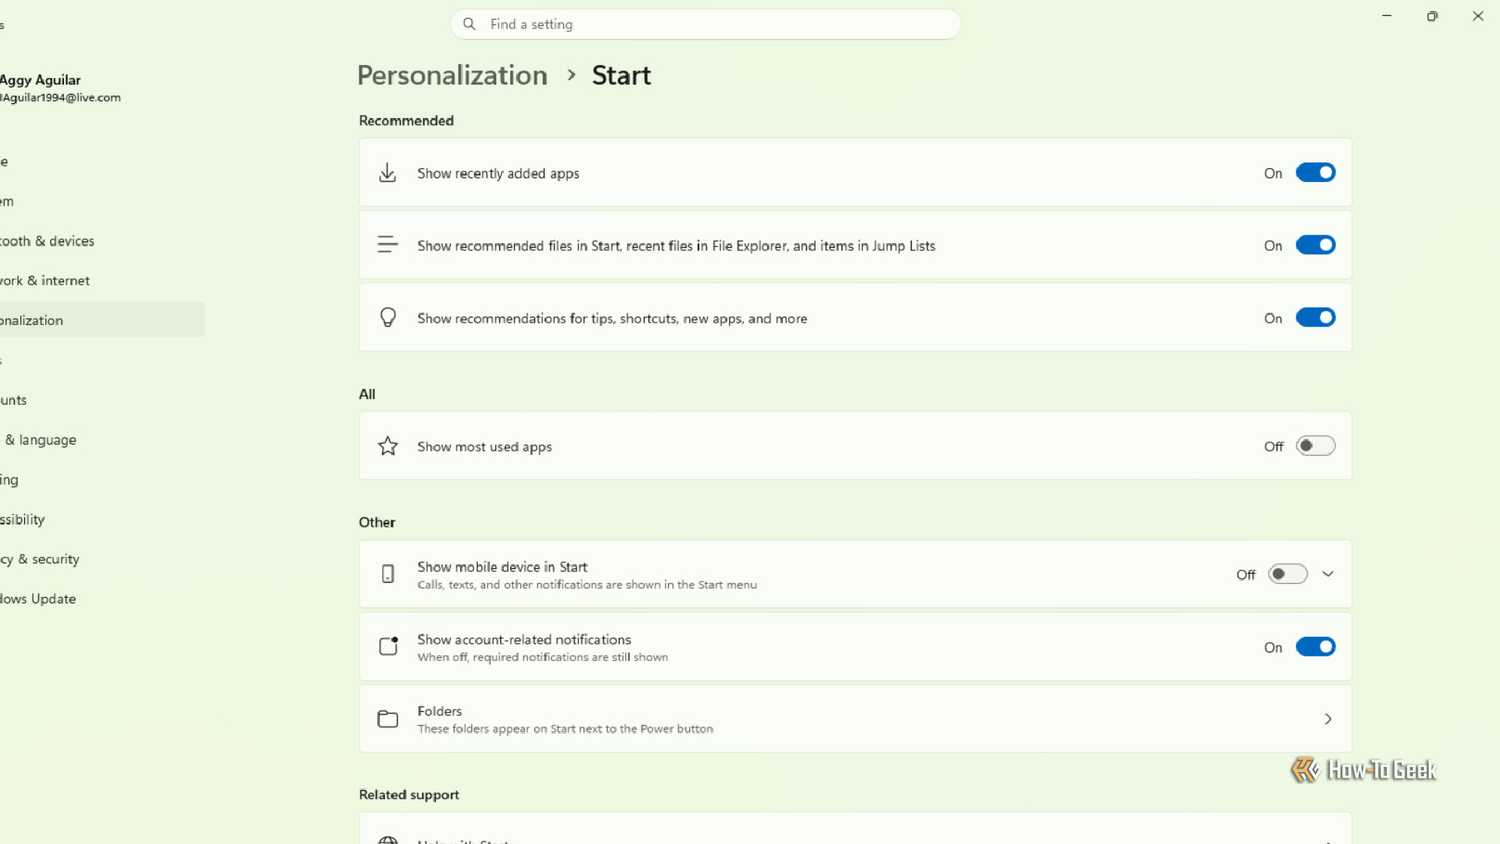
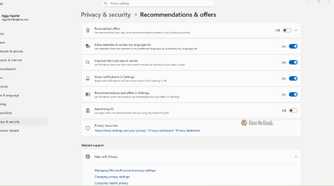
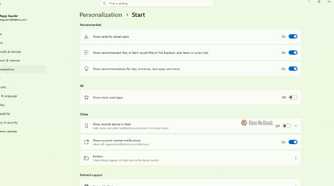
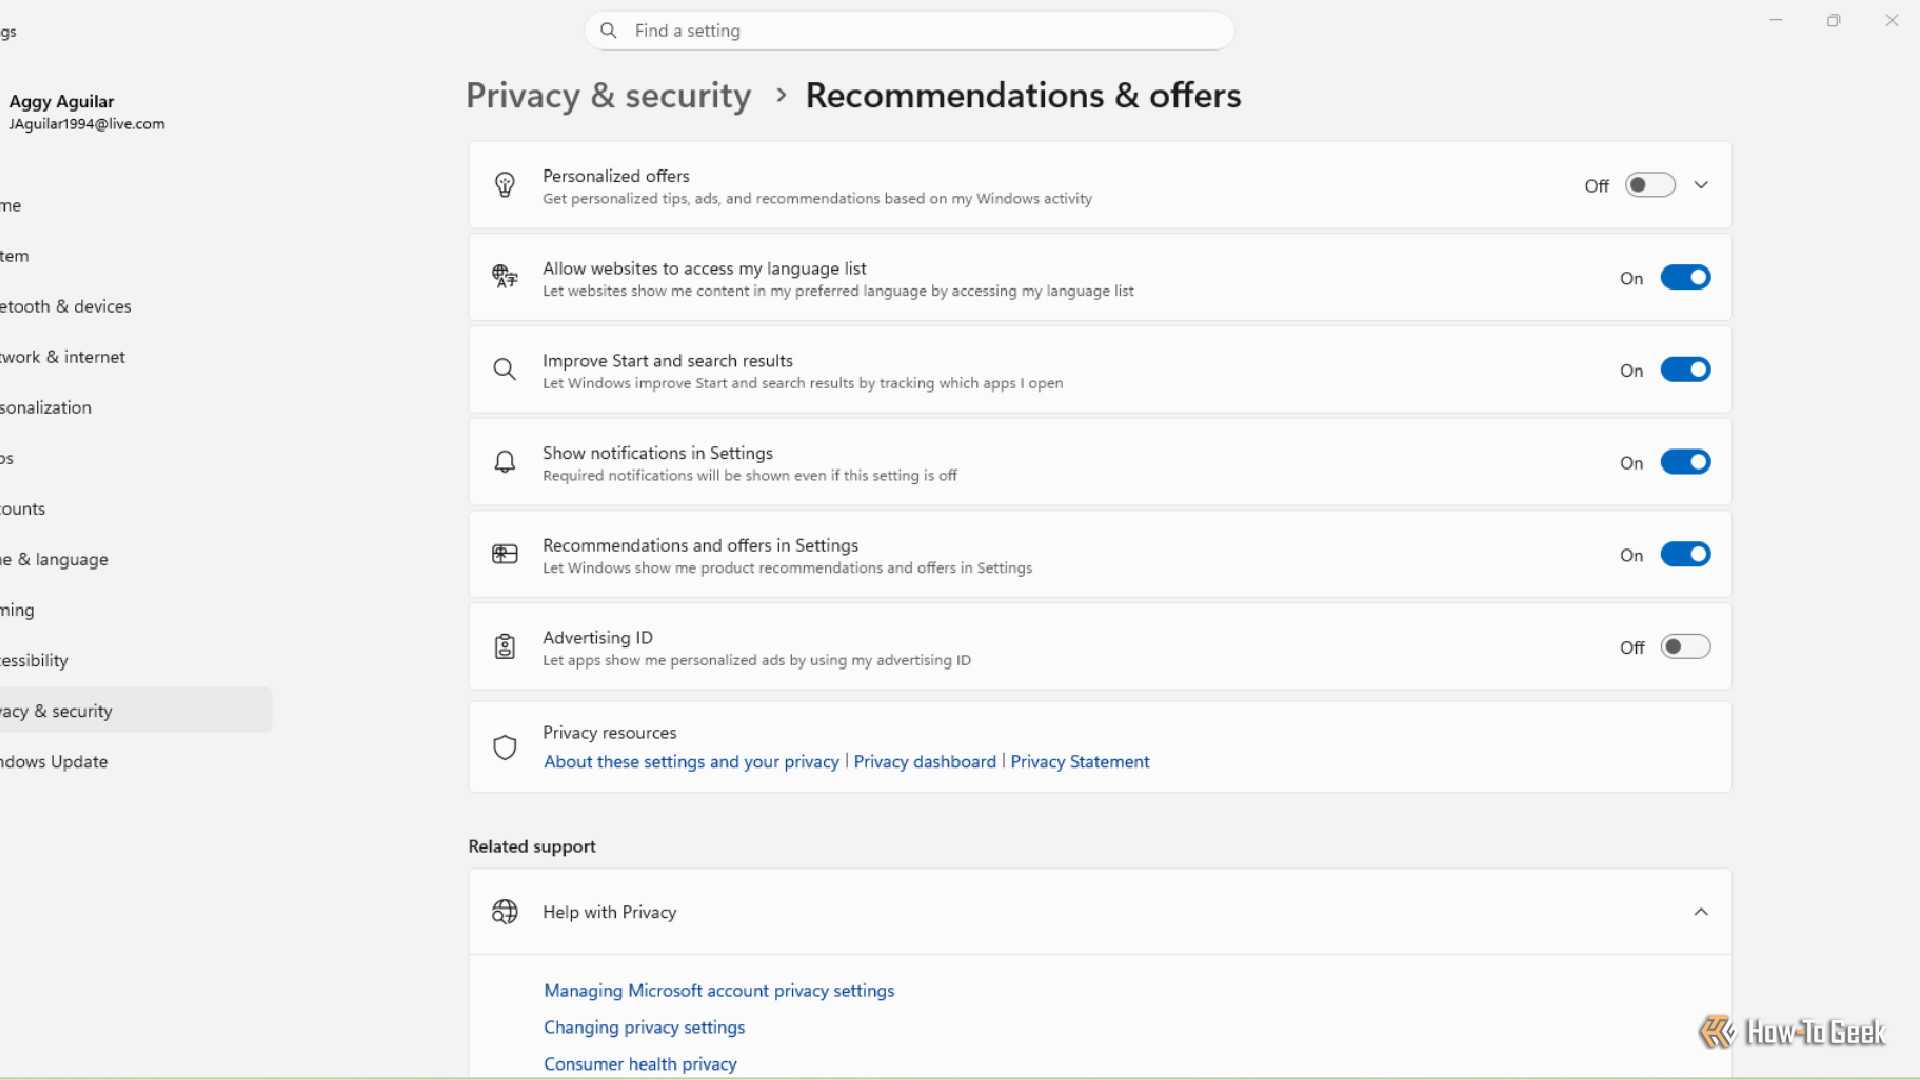
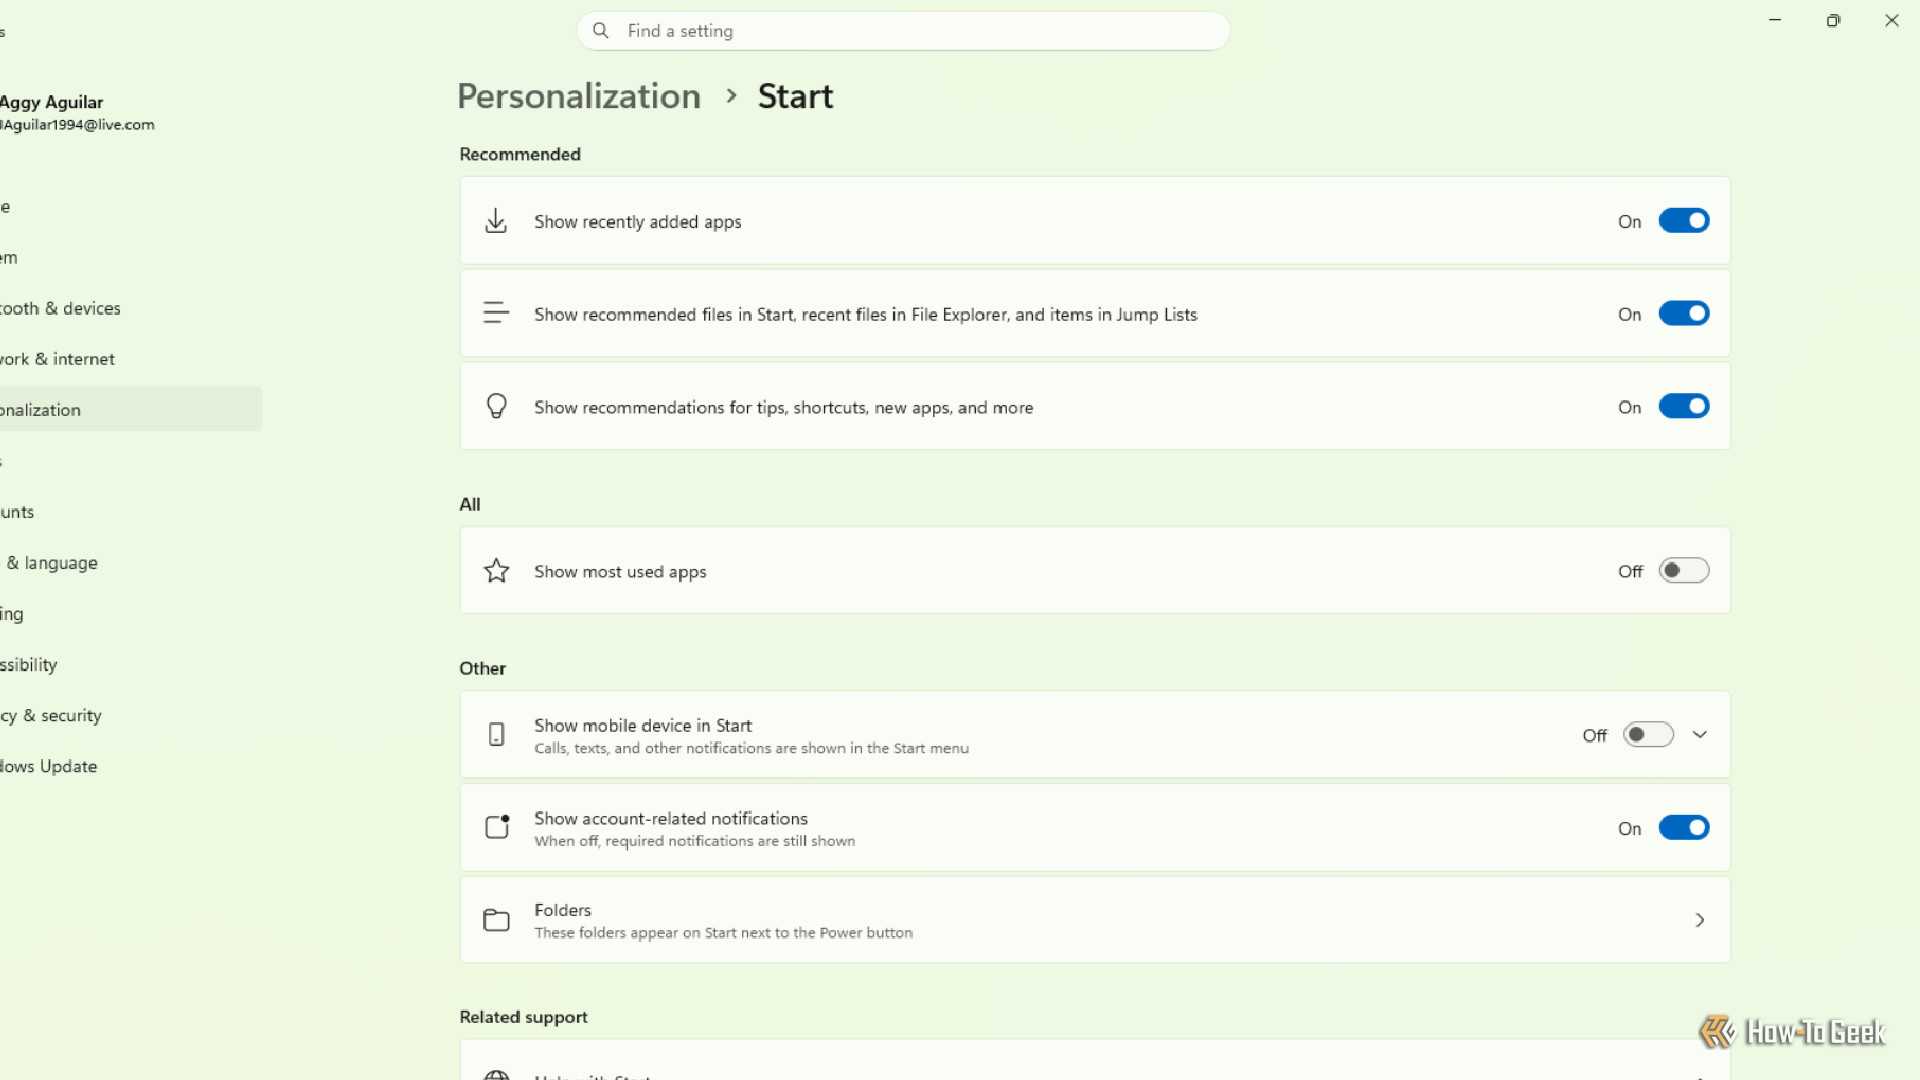
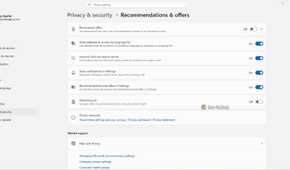
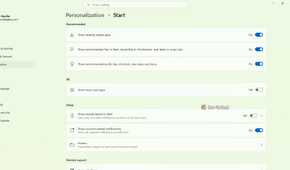
To turn off promotional content and suggestions, go to Settings, then Personalization, and pick Start. Turn off recommendations for tips, shortcuts, and new apps. Also, you have to turn off recently added or opened items. Then go back to the main Settings menu and open Privacy & Security, then General or Recommendation & offers. This depends on your version, but mine was Recommendations & offers. Turn off suggested content, personalized ads, and app launch tracking.
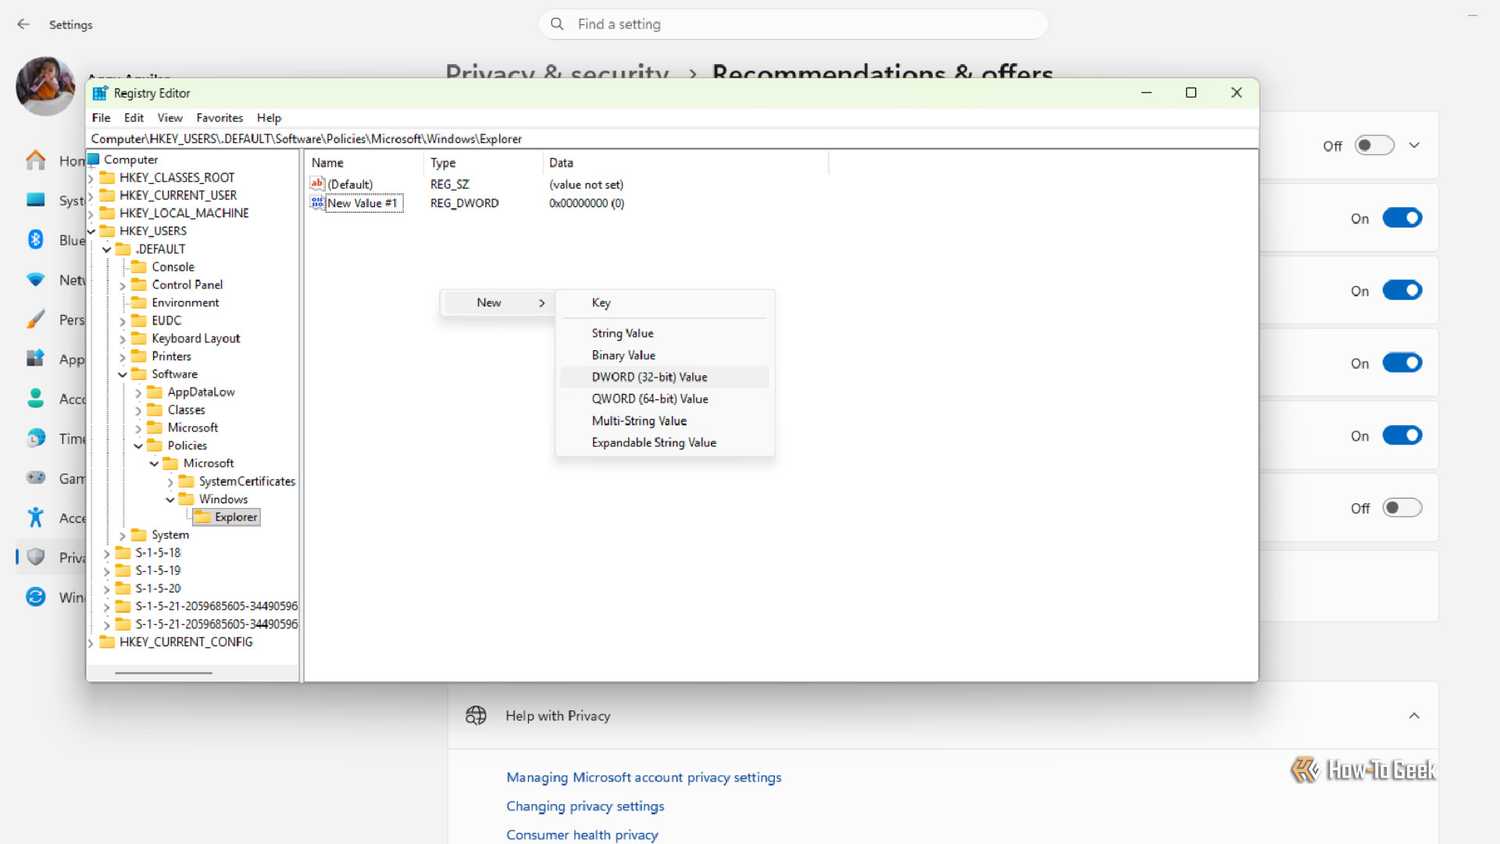
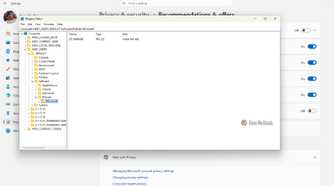
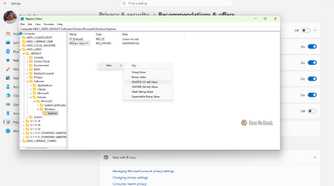
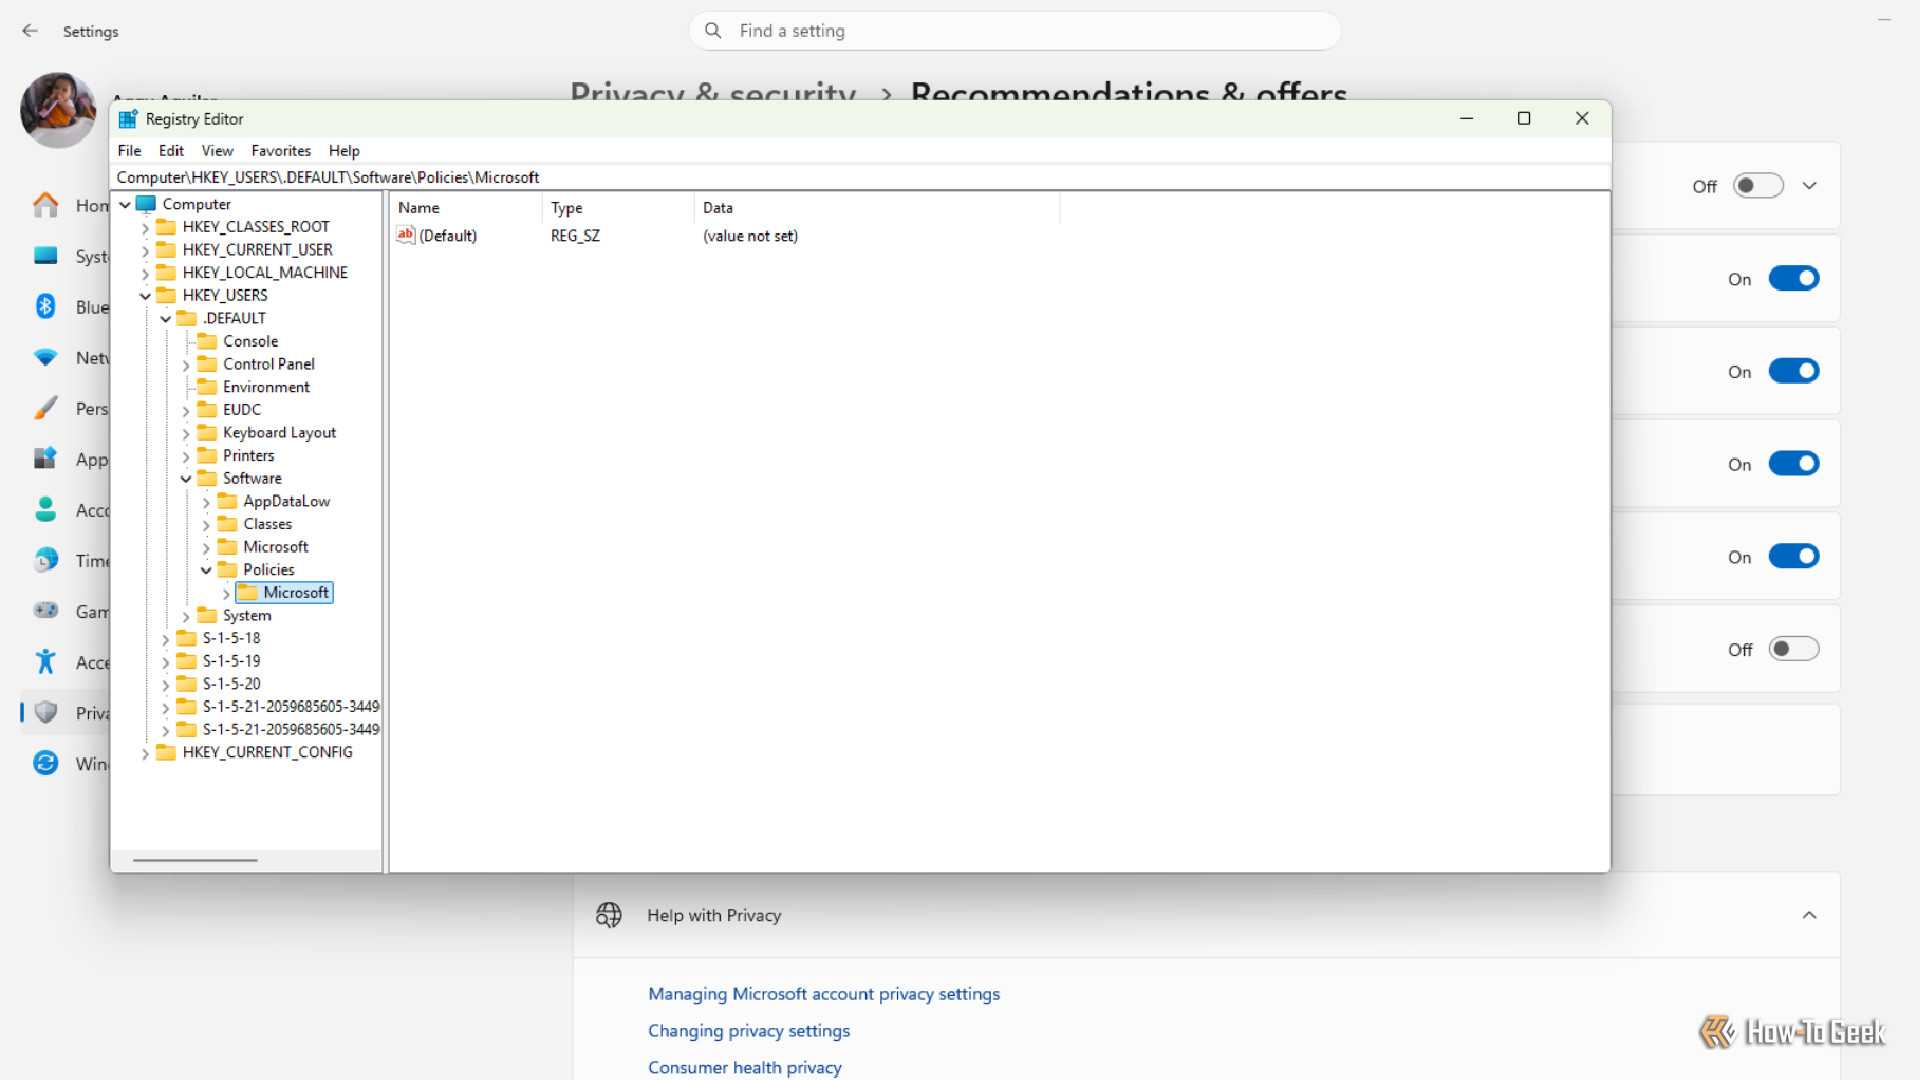
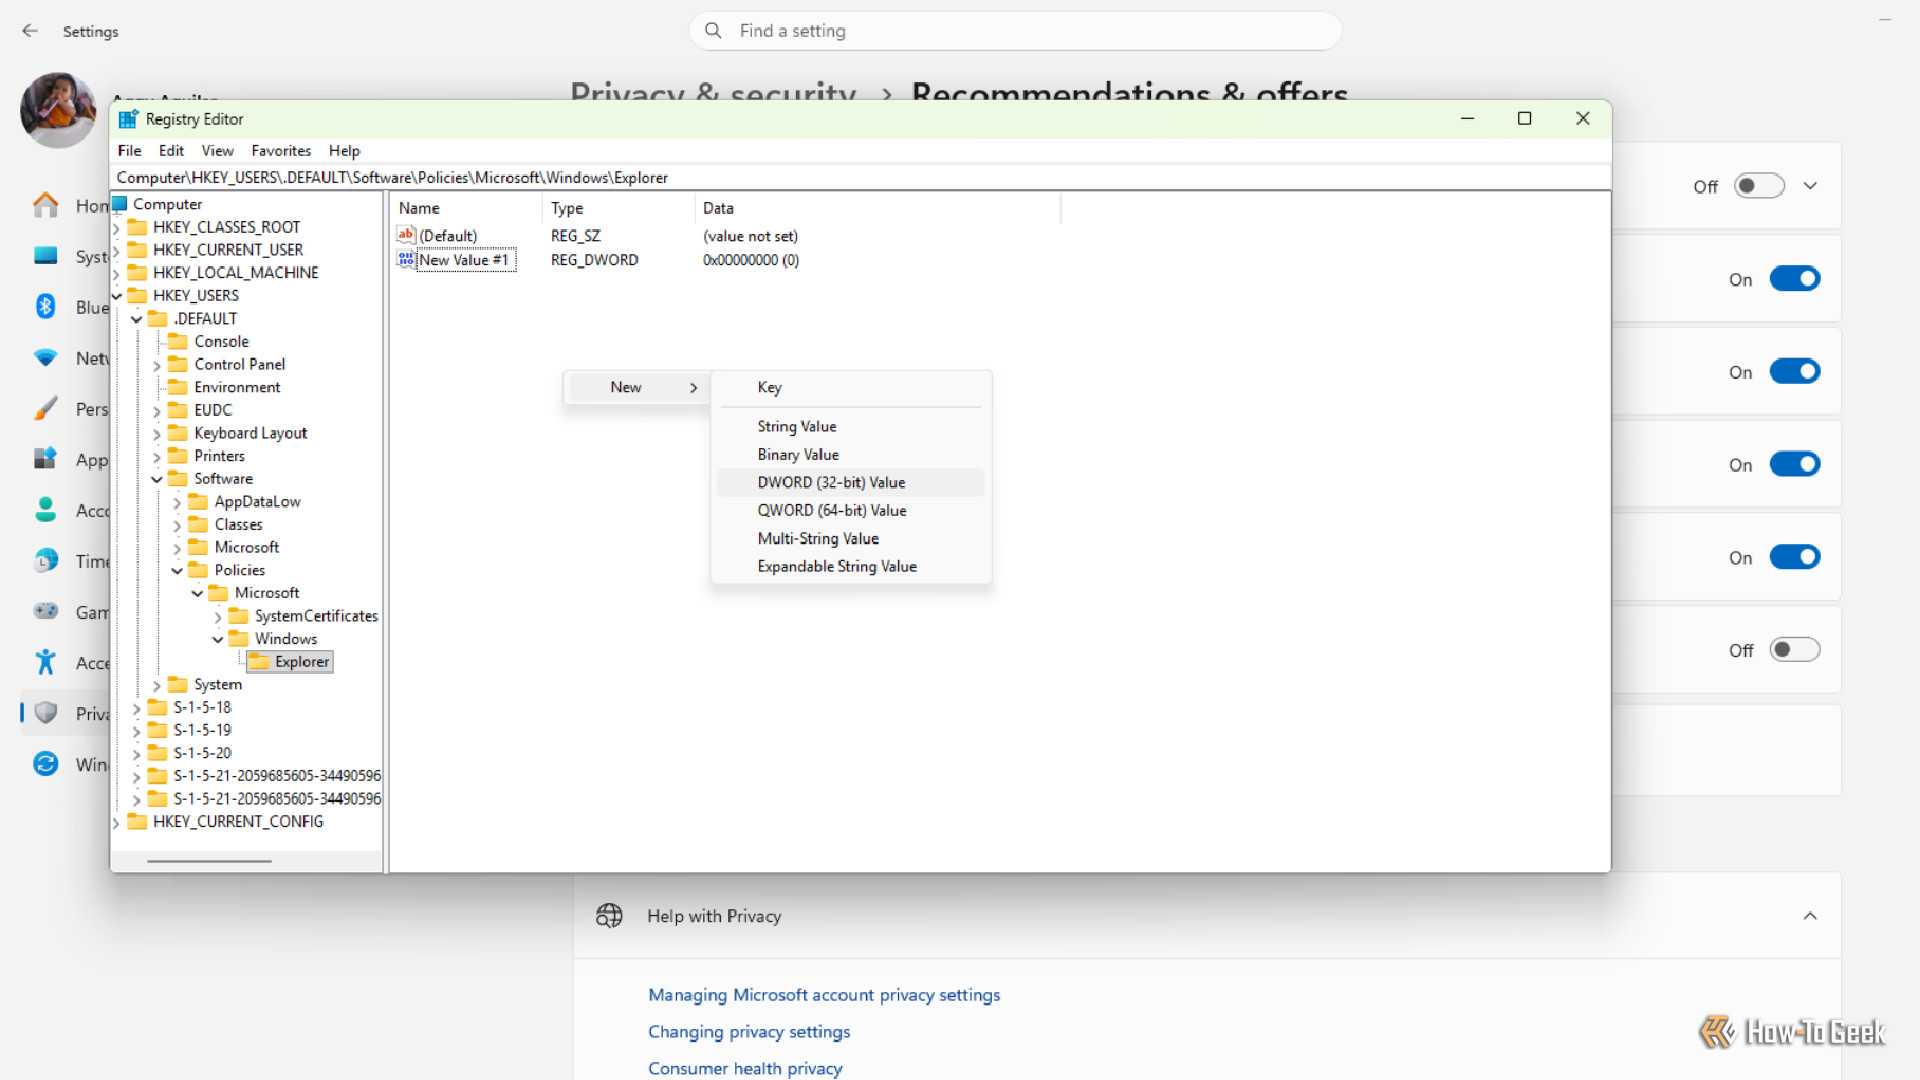
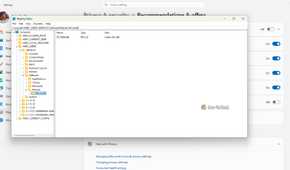
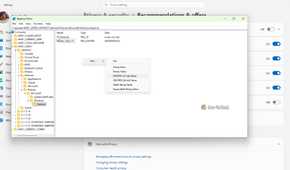
To cut off Bing integration in search, press Windows key + R and type regedit. Press enter and go to HKCUSOFTWAREPoliciesMicrosoftWindowsExplorer. If you don’t have a Windows folder, make one by making a Key. Then inside, make a Key named Explorer. Right click inside and make a new DWORD (32-bit) Value named DisableSearchBoxSuggestions and set the value to 1. This stops Windows from sending your searches to Bing, so you only get results from your own PC.
The last layer is Task Manager’s Startup Apps tab (Ctrl + Shift + Esc). Task Manager rates each startup entry by its impact based on CPU time and disk I/O during boot. High impact means the app uses over 1 second of CPU time or over 3 MB of disk I/O. Medium is 300 ms to 1,000 ms of CPU time or 300 KB to 3 MB of disk I/O. Low is under 300 ms of CPU time and under 300 KB of disk I/O.
When deciding what to disable, focus on non-essential third-party stuff like update checkers, background chat clients, and browser pre-loaders. Leave anything tied to your hardware alone, like Realtek audio, Nvidia/AMD/Intel graphics panels, and touchpad drivers. Those need to run to keep your hardware working properly. The same goes for your security software.
Stripping out system parts comes with real trade-offs
Some core packages need to stay in place to avoid system errors
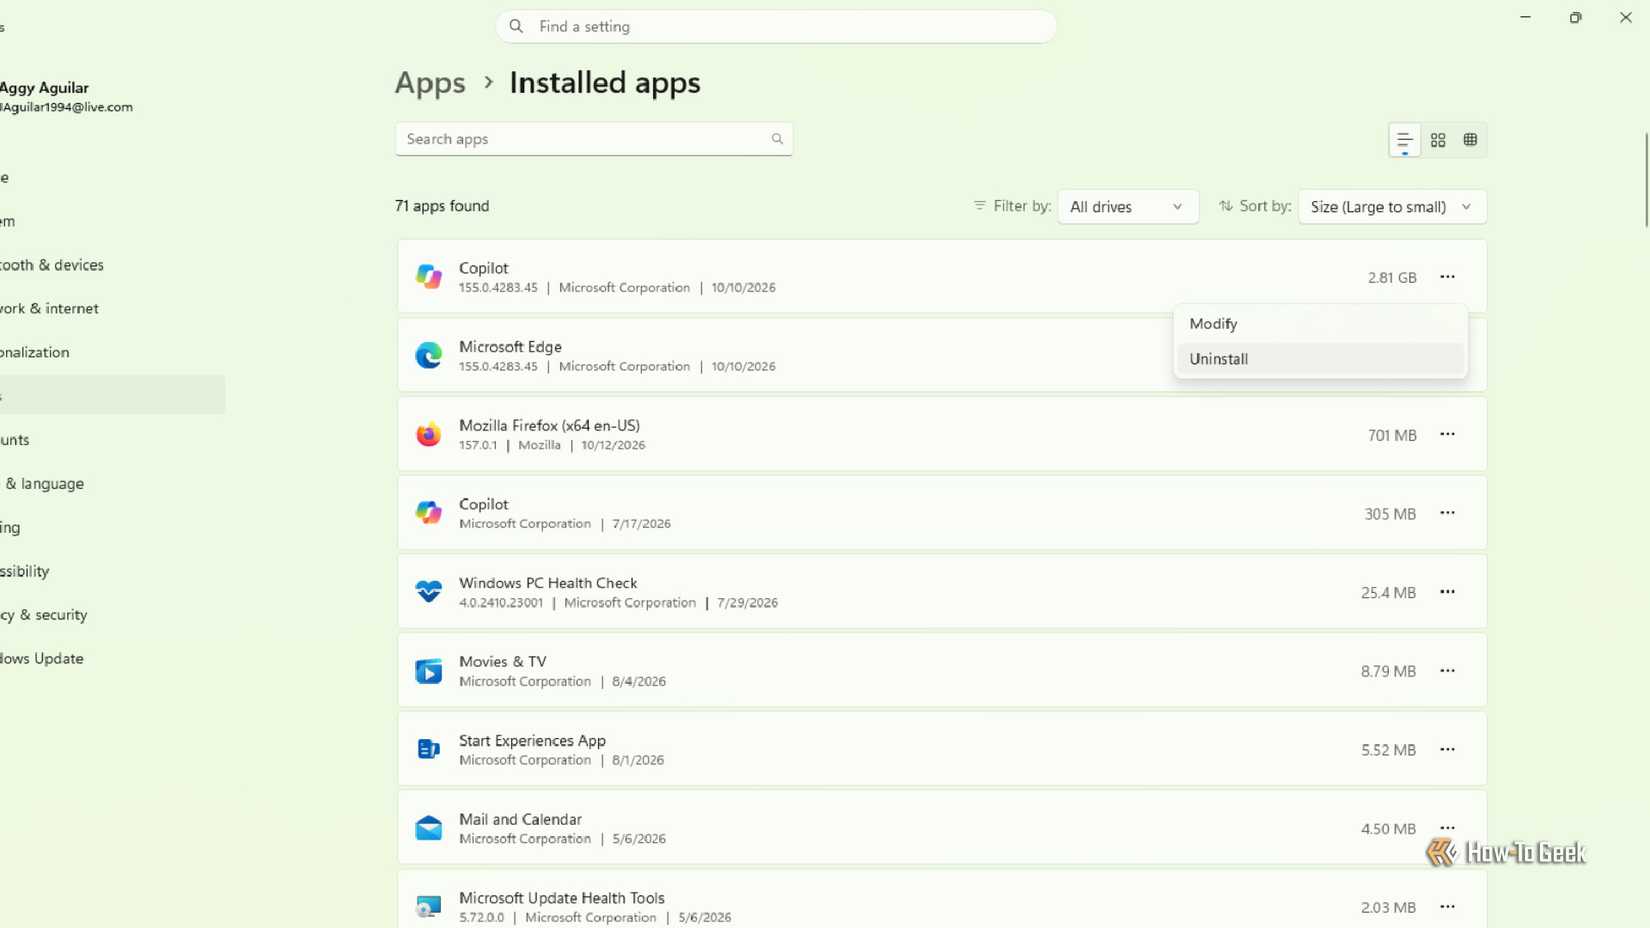
Trimming Windows 11 can backfire because Microsoft treats a lot of modern services and UWP packages as core system dependencies instead of the optional extras they pretty much are.
You should never remove the Edge WebView2 runtime, Microsoft Defender, Windows Security (Microsoft.SecHealthUI), the Microsoft Store (Microsoft.WindowsStore), or App Installer (Microsoft.DesktopAppInstaller). Leave these alone and go after everything else.
Debloating is also not a one-and-done thing. It’s going to be a regular part of your maintenance. Windows updates will reinstall any apps you didn’t completely remove, so you’ll have to repeat the process for those.
Take the time to make your PC feel like your own
Stripping out system bloat will noticeably speed up an older machine, but it takes some upkeep. I used to think Microsoft would eventually stop pushing bloat and ads into Windows, but I don’t anymore. It’s just part of owning a Windows PC, but luckily you can get rid of most of it. Spending twenty minutes turning off background noise is worth the time if you want your computer to feel like it’s actually yours instead of something you’re borrowing.