Credit: David J. Buck / How-To Geek
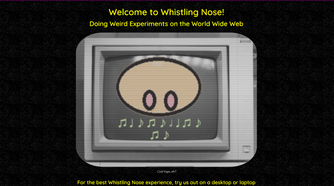
I run a silly little website on Neocities called Whistling Nose Games, Music, and Multimedia. During some downtime last year, I spent a few months relearning web design, CSS, JavaScript, and creating absurd games/music. It has an intentional nostalgic vibe. I’m going to revamp it. A friend, whose design skills are phenomenal, pointed me in the direction of Astro to help me with my redesign. So I gave it a shot and it turned out pretty well.
Astro is a web framework for static websites
There’s a lot going on under the hood
 Credit: David J. Buck/How-To Geek
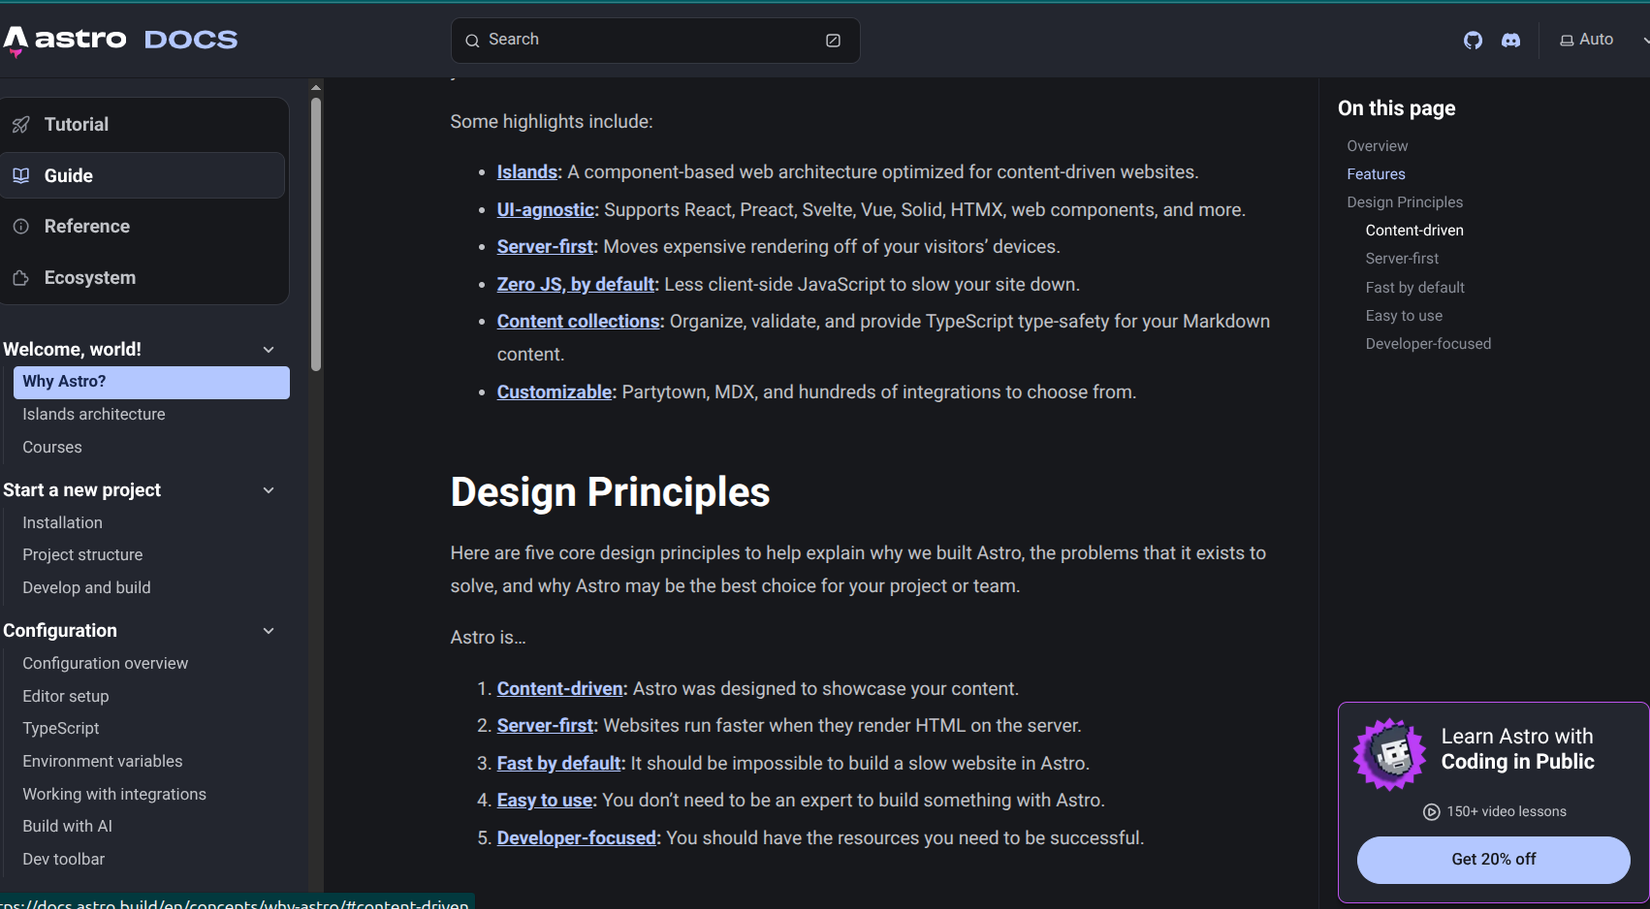
Touting itself as “a framework for content-driven websites,” Astro is a JavaScript web framework, which is just a fancy way of saying it helps users build static, content-heavy websites by separating the interactive components of the site from the content itself.
It compiles everything you make for your site (components, layouts, and Markdown files) into a HTML and CSS on the server side, instead of having the user’s browser handle the code execution. Seeing it work in real-time is pretty amazing. It uses a file-based routing system to generate the URLs based on your file layout. It does a lot of work behind-the-scenes.
It’s rich in features and essentially walks users through building their first website with the software. There are also integration features for building with AI (using a Claude CLI integration sounds interesting), but I did not test those for this project.
Before getting started, take one of Astro’s courses. I went through them before building my page, and it helped tremendously.
I’m using Astro to do a test build for a website upgrade
A single-page test can help inform the website’s new direction
-
 Credit: David J. Buck / How-To Geek
 -
 Credit: David J. Buck / How-To Geek
 -
 Credit: David J. Buck / How-To Geek
 -
 Credit: David J. Buck / How-To Geek
 -
 Credit: David J. Buck / How-To Geek
 -
 Credit: David J. Buck / How-To Geek

-
 Credit: David J. Buck / How-To Geek
 -
 Credit: David J. Buck / How-To Geek
 -
 Credit: David J. Buck / How-To Geek
 -
 Credit: David J. Buck / How-To Geek
 -
 Credit: David J. Buck / How-To Geek
 -
 Credit: David J. Buck / How-To Geek
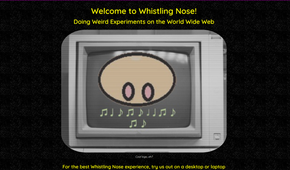
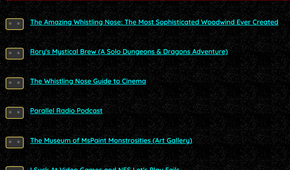

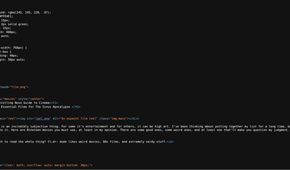
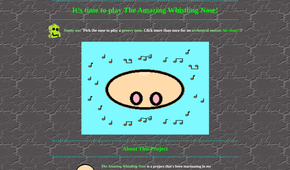
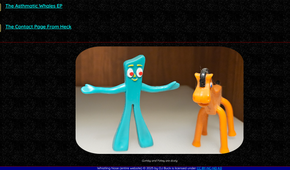
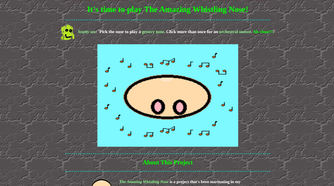
Updating and overhauling a personal website doesn’t exactly take priority over other work. I discovered my visitor counter isn’t working and feel my home page is a bit bare-bones for the large variety of content it links to.
Plus, I made a virtual museum exhibit for my wife as an anniversary gift, and I wanted to add it to the site by the end of the month. I finished the project and added it as a “secret link,” and realized my site needed some more polish. I also had a visitor reach out to me about some broken code.
So Astro is (hopefully) going to help me fix it.
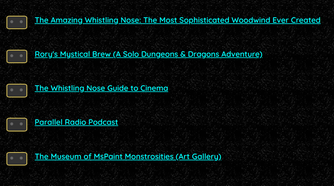
One of the ideas I had for my site was to create tongue-in-cheek, silly listicle that no one would take seriously. So, the scope of this experiment with Astro is to build that specific page and test it before adding it to Neocities.
Installation happens inside the command line
Or you can use the online version of the software
 Credit: David J. Buck / How-To Geek
 To install Astro on Linux, you’ll need to first install Node.js. Use node -v and npm -v to see if you have them. If not, you can install them with sudo apt install npm on Linux Mint Cinnamon. Grab version the right version of Node.js using curl.
Installing and adding different modules to Astro takes place in the terminal. Following installation, Astro creates a directory for your project, and you can add dependencies and frameworks (all of which is listed in great detail on their website) as you see fit. I used the command npx astro add alpinjsto add the Alpine.js framework to my project. I’m a huge fan of the framework, and it’s what I’m going to use for rebuilding the visitor counter on my site.
Astro also offers a version you can use in the browser, should you decide to go that route.
I carefully planned my design before even loading Astro
Preparation is key to making the most out of the app
 Credit: David J. Buck / How-To Geek
The page content already exists, so I’m only concerned with design and functionality. I want to give it an interactive element, like a downvote button (there won’t be an upvote button because I think it’s funnier that way). Design-wise, I want a late-80s, TV static, unsaturated vibe.
I want muted gray borders, a mild sepia-tone background, maybe some TV static overlay (but not too distracting), and a sort of washed-out green for the text. The headers will be off-purple or magenta, to align more with the page’s subject matter. Bold (or strong in CSS) should be an amber color. I’ll do something interesting with the headers as well.
With Astro, I have the power to do all of that and more.
Once I got started, the build went fast
I developed an entire web page in half the time I normally take
 Credit: David J. Buck / How-To Geek
 When you install Astro, it creates four different folders in a directory called src. These contain:
- Assets
- Components
- Layouts
- Pages
The Assets folder is where you put your images and any fonts you want to use. Components is for your reusable elements (think buttons, navigation, and so on). Layouts and Pages hold your CSS and your actual web page content respectively.
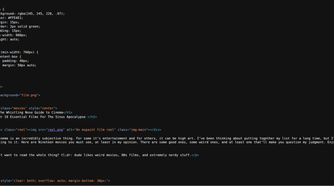
I wrote the original listicle back in January, so I just converted it to Markdown and made a few edits. Then I saved it as an MD file using Micro in the Terminal. Astro looks at the file name instead of the file type, so it doesn’t have to be saved as HTML.
 Credit: David J. Buck / How-To Geek
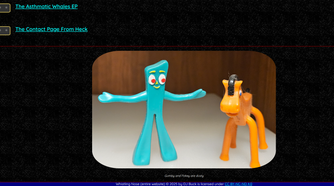
From there, I built out my CSS elements, which I saved to the Layouts folder and did a very simple JavaScript button that turns into an ASCII skeleton I found at the ASCII Art Archive. I grabbed some comic book images of each character and converted them to gray scale to better fit the aesthetic. I threw them in the Pages folder instead of Assets to co-exist with my Markdown file just to simplify things for a quick test. Later, I’ll be moving them to Assets when I’m finalizing the page.
 Credit: David J. Buck / How-To Geek
Editing is intuitive. You get to see your changes as you make them. I opened Micro to edit my file in one window while keeping the site open in the other so I could track changes as they happened. It saved a ton of time troubleshooting issues or wonky code.
To check your code, you run npm run dev. When executed, your content is put together, and you open a localhost instance in your browser. From there, you get to see what your new page looks like and inspect it for any issues right away. If you need to make adjustments, you just return to your src files, tweak the file in Micro, then watch your browser refresh.
As far as my page was concerned, it took some time, effort, and fine-tuning, but I finally ended up with a final result I was happy with, that will likely end up being published on my site.
Some things work well in Astro, while others need some polish
There’s always room for improvement
 Credit: Patrick Campanale / How-To Geek
What works well in Astro is its integration and how each document you make works together to create a cohesive website. On the other hand, if you’re just making a simple page with images, text, CSS, and a tiny bit of JavaScript, it might be easier to code by hand.
Astro very much feels like a desktop-first app. While I had no difficulty getting the service to work on Linux Mint, it struggled when I tried to use the online version on Android. It’s not a big deal, but just something worth knowing if you want to try it out on mobile.
It’s nice not to have to deal with a document full of code and to have Astro convert your Markdown into fully functional HTML. Since I like to write in Markdown, this saved me considerably time over hand-coding the HTML. I think this is a unique way of creating websites faster, once you understand what you’re doing.
I don’t feel that Astro is meant for beginners. I already have pretty solid knowledge of HTML, Markdown, and CSS (my JavaScript is admittedly rusty, but I know enough to get by), so I understood what it’s doing under the hood. That said, I’d recommend checking out a few tutorials (including Astro’s own) and spending plenty of time getting to know the software.
Astro feels like a new tool I can actually use often
 Credit: David J. Buck / How-To Geek
I had great fun working with Astro for my updated page. I think it will take some time to get more comfortable with it, but I can see myself using it more frequently in the future.
And who knows? Maybe it’ll motivate me to update my website or add more pages to it more often. I never got around to redoing that visitor counter, but I’ll get there eventually.
Either way, I certainly enjoyed my time with it and can’t wait to see what else I can do with it down the line.

Astro Web Builder
The web framework for content-driven websites
Astro powers the world’s fastest marketing sites, blogs, e-commerce websites, and more.